Hello friends! I hope you are doing well!
Today I have a sneak peek for you at some fabulous new stamps and dies coming your way from Our Daily Bread designs on April 1st! For this card, I used a set called The Cross, Flourish Label Borders, and Ornament Cross Dies, as well as Vintage Floral Pattern Dies. Oh.... can you say LOVE??? You will love these sets and gorgeous dies! The Vintage Floral Pattern Die set includes this beautiful white die cut background as well as several labels/sentiment dies. The sentiment above is one of several I submitted to the set, and is also stamped with the Flourish Label Border stamps. The paper is also a new release, and is called Christian Faith Paper Collection. I die cut the cross and matted it on one of the labels from the Vintage Floral Pattern Dies. I popped it up on dimensionals and added 3 sequins as well as a lily.
I know when we use sequins we usually scatter them randomly, but I had a purpose in where I placed them this time. You see, there is a hole in the center of each sequin, and you would either pierce a needle through the hole to sew it on, or you might add a brad to hold it on. This reminded me of the nails that pierced our Savior's hands and feet on that sad day that He was put to death. There was nothing pretty about the cross He died on... and I don't for a minute want to portray that... however, as believers we know that He did not stay on that cross, and He did not stay in the tomb they buried Him in. Three days later, He arose from the dead, conquering death once and for all for all those who would believe and receive Him as their one and only way to be redeemed and forgiven! We can celebrate with joy and beauty this most sacred of seasons, because He lives, and we too can live eternally in a place far better than our human minds could ever conceive of, if we know Him! So I simply ask... do YOU know Him? Are you looking forward to the day you'll meet Him face to face and thank Him for all He has done for you? This is the God of the universe, The Creator of all things, The One who sustains all things we're talking about!!! Does that not blow your minds? That One so great would be willing to die for me so that I could be forgiven of the sin I could never pay for myself... I can hardly conceive it, yet by faith I believe it! So... this is why I submitted this sentiment. Let me REST in the shadow of the cross! Because He died, I am forgiven... because He lives, I too can live! I don't have to strive and worry, nor do I need to fear death... I can REST! Thank you Lord Jesus!
I am entering this in the final ODBD 6th Anniversary Celebration, with the Shining the Light Challenge, to have fun with your ODBD stamps and Dies! I am also entering it in this week's Word Art Wednesday, which is always anything goes with either the free digi given there, or any Scripture or encouraging sentiment!
If you've read this far... thank you! May YOU Rest in the shadow of the cross!
Blessings,
Pages
▼
Saturday, March 29, 2014
Friday, March 28, 2014
A Quote and a Legacy!
Hello friends! I hope you are all well!
I have another cards to share with you today that I made with the special 6th Anniversary sets at Our Daily Bread Designs! This card is made with a quote by Jim Elliot, and is in the Quote Collection 4 set. I don't know if you know who Jim Elliot was, but he was was an evangelical Christian who was one of five missionaries killed while participating in Operation Auca, an attempt to evangelize the Huaorani people of Ecuador. He was only 28 years old when he was killed by the Huaorani Indians, but the story of his life, and the lives of the people who killed him after his death will be a real blessing if you ever have time to read his story or watch the movie. Jim's wife Elisabeth Elliot wrote a couple of books about his life and death, the most notable of which is Through Gates of Splendor. A documentary based on the story was also made, called Beyond the Gates of Splendor. Another movie I have seen and highly recommend, called End of the Spear, is based on the story of the pilot of the group of missionaries, who also was killed at the same time, Nate Saint, and the return trip of Nate's son attempting to reach the natives of Ecuador. I marvel that some of the family members of those five missionaries including Elisabeth Elliot, did go back to the same place and ministered to and lived among the very people who killed their loved ones!
Jim's journal entry for October 28, 1949, expressed his belief that work dedicated to Jesus was far more important than his life (see Luke 9:24 in the Bible). "He is no fool who gives what he cannot keep to gain that which he cannot lose." Given that dedication to God, the above quote takes on even more meaning in my opinion! Can we even imagine what's God's best is? For Jim... for the Huaorani Indians... for the families... God is so much bigger than we can begin to understand! We see his death at such a young age and wonder "why". God... sees the bigger picture and had an incredible plan to save many!!!
Besides the ODBD Quote Collection 4, I used the ODBD Elegant Oval dies and Fancy Foliage Die. The base is ivory, and the designer paper is a Kirby Teesdale Pack by Paper Studio (Hobby Lobby). I used a variety of flowers, May Arts silk ribbon, snips of lace from my stash, and lots of sponge distressing for a vintage feel.
I am linking this to the ODBD Shining the Light Challenge for this week and next... to have fun with ODBD stamps! I am also sharing it with Word Art Wednesday, which is anything goes with a Scripture or uplifting sentiment.
Before I go, I want to remind you that you have one more day to take advantage of the special Easter Sale goingon at ODBD!
Through Saturday, March 29, 2014 11:00PM EDT, you can SAVE 20% on all ODBD Easter Stamp Sets and Singles!* when you enter code EASTER20 at checkout. (Sorry, no rainchecks, retail customers only)
Click here to visit the website.
Thank you so much for stopping by,looking at my card, and for reading my thoughts today!
Blessings,
Thursday, March 27, 2014
Celebrate Life!
Hello friends! I have one more quick card to share using the special release of the ODBD 6th Anniversary Sets! This card uses a sentiment from Sentiment Collection 3. I also used the Blooming Garden Paper Collection, the ODBD Recipe Card and Tags Die, and the Decorative Corners Dies. I used an embossing folder to emboss the outer frame, and I scored the inner frame. A pretty soft sheer ribbon and gold cord tied simply in the center keep this card flat and mailable, which is always a good thing! I hope you have enjoyed all the samples with these special Anniversary sets! I know you won't want to miss the April 1st release so until then....Thanks so much for looking!
Blessings,
Blessings,
Tuesday, March 25, 2014
Lilacs, Mercy and Rest!
Hello friends!!!
I hope you are all well! I have two more cards to share with you using the 6th Anniversary sets from Our Daily Bread designs. For the card above, I used a sentiment from Sentiment Collection 3 and the Lilac Single. I also used some pretty designer paper from the Blooming Garden Paper Collection. I cut the sentiment out with the Recipe Card and Tags Die set, and I used a Spellbinders Curved Borders die for the edges and center panel. I colored the lilacs with Copics and hand cut them. I stamped the Hummingbird Single and colored it with Copics, and cut it with the Custom Hummingbird Die. So quick and easy! The embossing is a Cuttlebug folder and I used some purple seam binding, gold thread and purple bling.
For my second card, I used Quote Collection 4, stamped with Memento ink, cut it out with a Spellbinders Label 28 and Decorative Label 28, and I matted that with this month's release, Daisy Chain Die. I popped that up on dimensionals over some pretty designer paper from the Blooming Garden Collection. My only embellishments are silver pearls and thin blue sheer ribbon.
Thanks so much for stopping by! I really love hearing from you and knowing you were here!!!
I am entering this in this week's Shining the Light Challenge, as we continue to celebrate the 6th Anniversary of ODBD! Let's see your favorites from ODBD! I most appreciate more than anything else the Scriptures and God focused sentiments that ODBD produces, so I shared a couple of them. We'd love to have you play along!
Today's Blessing:
Eph. 4:2
Be completely humble and gentle; bearing with one another in love.
Friday, March 21, 2014
Pleasant Words and a look back!
Hello friends! Today we on the Design Team are taking a look back at the Our Daily Bread designs March release. I have created something pretty different for you today! I used a technique found on SCS.
It's called Serendipity Squares Technique and I really enjoyed it! It is a little time consuming, but so worth it! You begin with a base card stock, and several scraps of designer paper that coordinate with each other. You tear them in to pieces. I played around a little bit with the sizes to tear the papers. In the photo below I had torn them to about 1" but I ended up tearing them again, so about 1/2" is what seemed to work the best for me.
Once you have your scraps torn, you glue them to your card stock. I used Tombow Multi glue. A glue stick would also work here. You overlap the edges and cover the entire paper. In addition to the original instructions, I sponged the edges of my papers if any white torn edges showed, using distress inks. Once covered, you trim your paper to remove any jagged edges of scraps, and then you begin stamping various images on the paper. I stamped the Bee Balm image, and I also stamped the Honey Comb Mini with VersaMark and embossed in gold. Next, you cut your paper into whatever shapes you want for your card background. This is the step where the "serendipity" really happens! As you cut them apart and regroup them together, the shapes and patterns of your stamped images and embossing really catch your eye. For this card, I just used three strips and mounted on white card stock. I loved the look of this paper background so much I didn't want to cover it up... so, I decided to try some acetate over top of it!
I stamped a piece of acetate with Versamark, stamped my sentiment from the Be Happy set, and heat embossed with gold. I did the same with the Hummingbird, and with the Bee Balm image. I hand cut the bee balm and used the ODBD Custom Hummingbird Die to cut the hummingbird. I cut a Spellbinders Decorative Labels 28 from white card stock, adhered the sentiment acetate layer to the back of that frame and mounted it on my background with foam strips. I then adhered the flower and the hummingbird on the front of the frame. I love how the background looks peeking through the acetate. It WAS hard to get a photo of it, so it does not really show you how pretty it is, but in real life, I absolutely love how this came out. I'm so glad I played with that technique because it's definitely one I'll use again, AND it's a great way to use up scraps!
EDITED to add: I was asked about tips on embossing on acetate. I did not buy any specially heave acetate to do this, but I did preheat the gun and then I heated from the back side I did not have any trouble with the acetate curling or melting. The only time I have had that happen was when I tried using packaging acetate from a box. I had thought since it was so heavy it would be fine but it curled. This is just regular card type acetate. I don't have a name on it or I'd share that but I don't. I hope this helps!
Card Recipe:
Dies: ODBD Custom Hummingbird Die, Spellbinders Decorative Labels 28
Paper: Neenah Solar White CS, Scraps of designer paper for background
Ink: Distress Inks
Accessories: May Arts Silk Ribbon, Pearls, Gold Embossing Powder
I hope you'll give it a try, and if you do, let me know so I can come see it!
Here are the products I used for this project:
To see more inspiration, please visit the ODBD Blog, and
be sure to check out my DT sisters creations:
Thursday, March 20, 2014
God of all Comfort!
Hello friends! I'm so happy to see the sun today!!! I hope it finds you well and praising God! To give you a Scripture that will give you reason to praise Him, I thought I'd share another sample I made this morning for a challenge over on SCS. The challenge was to use buttons. I have a ton of them but seldom think to use them, so this was fun for me!
The Scripture I used today is from the newly released ODBD Anniversary sets, and this one is in Scripture Collection 13. I love the reminder that our God is a God of compassion, and the God of all comfort!!!
I created the soft floral background for my verse by stamping the floral image from the Mom set in VersaMark and then lightly sponging on pastel chalk over top. The VersaMark grabs the color of the chalk and the rest brushes away. I love this technique on sentiment panels when they look a little plain otherwise. I cut the panel with Spellbinders labels 22 and matted with SB Decorative Labels 22. I embossed the honeycomb panel with a Darice folder and the base is Baja Breeze with My Mind's Eye designer paper from the Meadow pack. I added lace and 2 stacked buttons for embellishment. It was very quick to create but I so love the message of this verse!!!
Have a wonderful day!!! Thanks so much for stopping by and for your sweet comments!
Hugs,
I stamped the Scripture
Wednesday, March 19, 2014
Peace I leave with you!
Hello friends! I hope you are doing well!
Today I have a card to share with your that I made using the new ODBD 6th Anniversary set, Scripture Collection 13. I love the verses in this set and I know I will use them often! I used this wonderful verse from John 14:27, stamping with Brown ink on Neenah Solar White card stock, and cutting out the panel with the larger of the tags in the ODBD Custom Recipe Card and Tags Die set. I cut the white matting layers with Spellbinders Nobel Rectangles, and backed them with a piece of designer paper from the new ODBD Blooming Garden Paper Collection. I decorated the card with some hand made flowers (a gift from my sweet friend Pat) and flourish and leaves from the ODBD Fancy Foliage Die set. It may not look it, but it is a very simple card to layout out and construct. Most of the layers are popped up on dimensionals. That allows the better peek at the pretty designer paper and gives depth.
I hope you are enjoying these Anniversary sets as much as we on the DT are! I have more to share so check back often!
Today's Blessing:
Rev. 22:13
"I am the Alpha and the Omega, the First and the Last, the Beginning and the End."
Thanks so much for stopping by, and for your sweet comments! They mean more than you know!!!
Hugs,
Monday, March 17, 2014
Welcome to the ODBD 6th Anniversary Release!
Welcome to the Our Daily Bread designs 6th Anniversary Celebration and release!!! If you have not seen the full release yet, you might want to pop on over to the ODBD blog to see it all. Be sure to see below at the end of this post all the details of how YOU could win this entire release bundle!!!
This is the special time of the year when the designers submit a Scripture verse, sentiment or quote they would like to see in a stamp set, and they are then made in to the Anniversary Sets for this special celebration.
My verse is the one you see above from Ps. 61:2. It is in Scripture Collection 12.
I thought that the mountain from the ODBD Keep Climbing set as well as the Bird Borders and Corners were a perfect fit with my verse. So I kind of cased a card of my own from a couple years ago, simplifying it a bit but still similar. My card base is Sage Shadow and then I used Neenah Solar White and Memento Ink to create my layers of images. I cut the verse out with the ODBD Custom Elegant Oval dies, and matted that with a Spellbinders Majestic Label 25. I died some seam binding with sage shadow ink but in the photo it looks a little off. In real life it's a pretty close match. Here are the past release sets I used as well as the new Anniversary set that my Scripture is in, Scripture Collection 12.
Here is another card made with my Scripture verse:
For this second card, I stamped with Regal Rose on white card stock three of the smallest Zinnias from the March 1 release. I then created a vellum overlay to soften the colors. I created a window for my sentiment by stamping the Scripture verse on regal rose card stock with versamark and heat embossing in white, and then cutting a Spellbinders Marvelous Rectangle frame for it. I also stamped one zinnia on the vellum, and one on white card stock, and heat embossed them both, cutting out the card stock one with the custom Zinnia and Leaves die. I cut an ODBD Custom Fancy Foliage flourish from white card stock, and four Beautiful Borders, which I cut off the lacy part and used just the little eyelet edge for my edging inside and outside. I added a sheer bow and some pink pearls to finish it off. This one was hard to photograph, but in real life it is prettier than in the photo.
For my final sample, I used another verse from the same Scripture Collection 12.
I paired the Scripture verse with the past release, Dahlia Single. I stamped the Dahlia all over my background with Memento ink in Nautical Blue. I created the matting for the verse by cutting a white card stock layer with a Spellbinders Curved Border 2 on each side. I then masked the edges of the panel and stamped the Dahlia in the center of the widest part, and again on the top and bottom. I cut my verse with a Spellbinders Classic Circle Large and popped up with dimensionals. I decorated with another ODBD Custom Fancy Foliage flourish, a May Arts bow, a small beaded flower, and some ZVA blue pearl flourishes.
Blog Hop Prize Details:
Three
winners will be randomly chosen from the comments left on the designers
blogs to receive a $25 Gift Certificate to the ODBD Store, to be used
toward the purchase of ODBD Stamps; ONE lucky random commenter will be
randomly chosen to win the 2014 Anniversary Bundle! You have until
March 18, 2014 at 9:00 p.m. EDT to leave your comments! The Winners will
be posted on the ODBD Blog on March 19th, so be sure to check back
to see if you won!
Thanks so much for stopping to take a look, and for helping us celebrate this milestone in Our Daily Bread design's life as a company !
Please visit my DT sisters to see much more inspiration and to be qualified to win some goodies!
Julie * Wanda * Chris * Stacy * Lisa * Grace * Dawn * Diana * Sandee Sabrina Silke * Cathy * Angie * Linda * Lori * Cheryl * Audrey*
Hugs,
Thursday, March 13, 2014
With Heartfelt Sympathy!
Hello friends! I was asked to guest design for the Queen for the Day Challenge on Splitcoaststampers this week. Our lovely queen this week is Kim (berlycece), and you can find the card I cased HERE.
My image is SU! Pleasant Poppies, and I colored with Copics and cut out with Spellbinders Deckled Rectangles. I added some white gel pen accents to the flowers for a little more pop. The base is So Saffron(SU!) and I stamped the sentiment from SU! Simply Sketched on the base with Memento ink. The designer paper is BoBunny Serenade Collection... and I have to say I love this pack!
The border at the top that looks like loose leaf paper is Spellbinders On The Edge Borders, and the lower border is Spellbinders A2
Curved Border, which I cut once from the designer paper and once from black to create a mat. I decorated the inside with the negative
cutaway.
Thanks so much for stopping by and for your lovely comments! I am getting ready for some Grandma time tomorrow through Sunday! Can't!!!
Today's Blessing:
James 5:16
The prayer of a righteous person is powerful and effective.
Tuesday, March 11, 2014
This Hug's For You!
Hello friends! Popping in real quick to say hello, and to share another "just for fun" card with you!
I created this card to honor our SCS Queen for the Day, Sandie, a few weeks ago. I had loved her owl cards and had left her a comment about them, and she had so kindly sent me some of these awesome punched pieces for this cute little SU! owl. Since I have a couple young ladies in my life who love owls, this was for one of them. Anyway... I traced the "clothing" part from the card stock to some designer paper so I could dress my owl in something eye catching. I gave her a little shadow, and perched her on a Spellbinders die from the Cherry Blossom Set. I used designer paper from Echo Park "This and That" pad, and added the sweet sentiment from Great Impressions to keep it clean and simple.
I love the sentiment on this card... It could be used for Valentine's Day, but it could also be used when someone is just feeling down and they need a little encouragement... a paper hug from someone who loves them!
Thanks so much for stopping by!
Friday, March 7, 2014
How sweet it is ... and a fun pop up!
Hello friends! I hope you are enjoying the beginnings of a wonderful weekend! After sleet, snow rain and wind yesterday and this morning, we are certainly looking forward to the 60's that are predicted for the weekend!
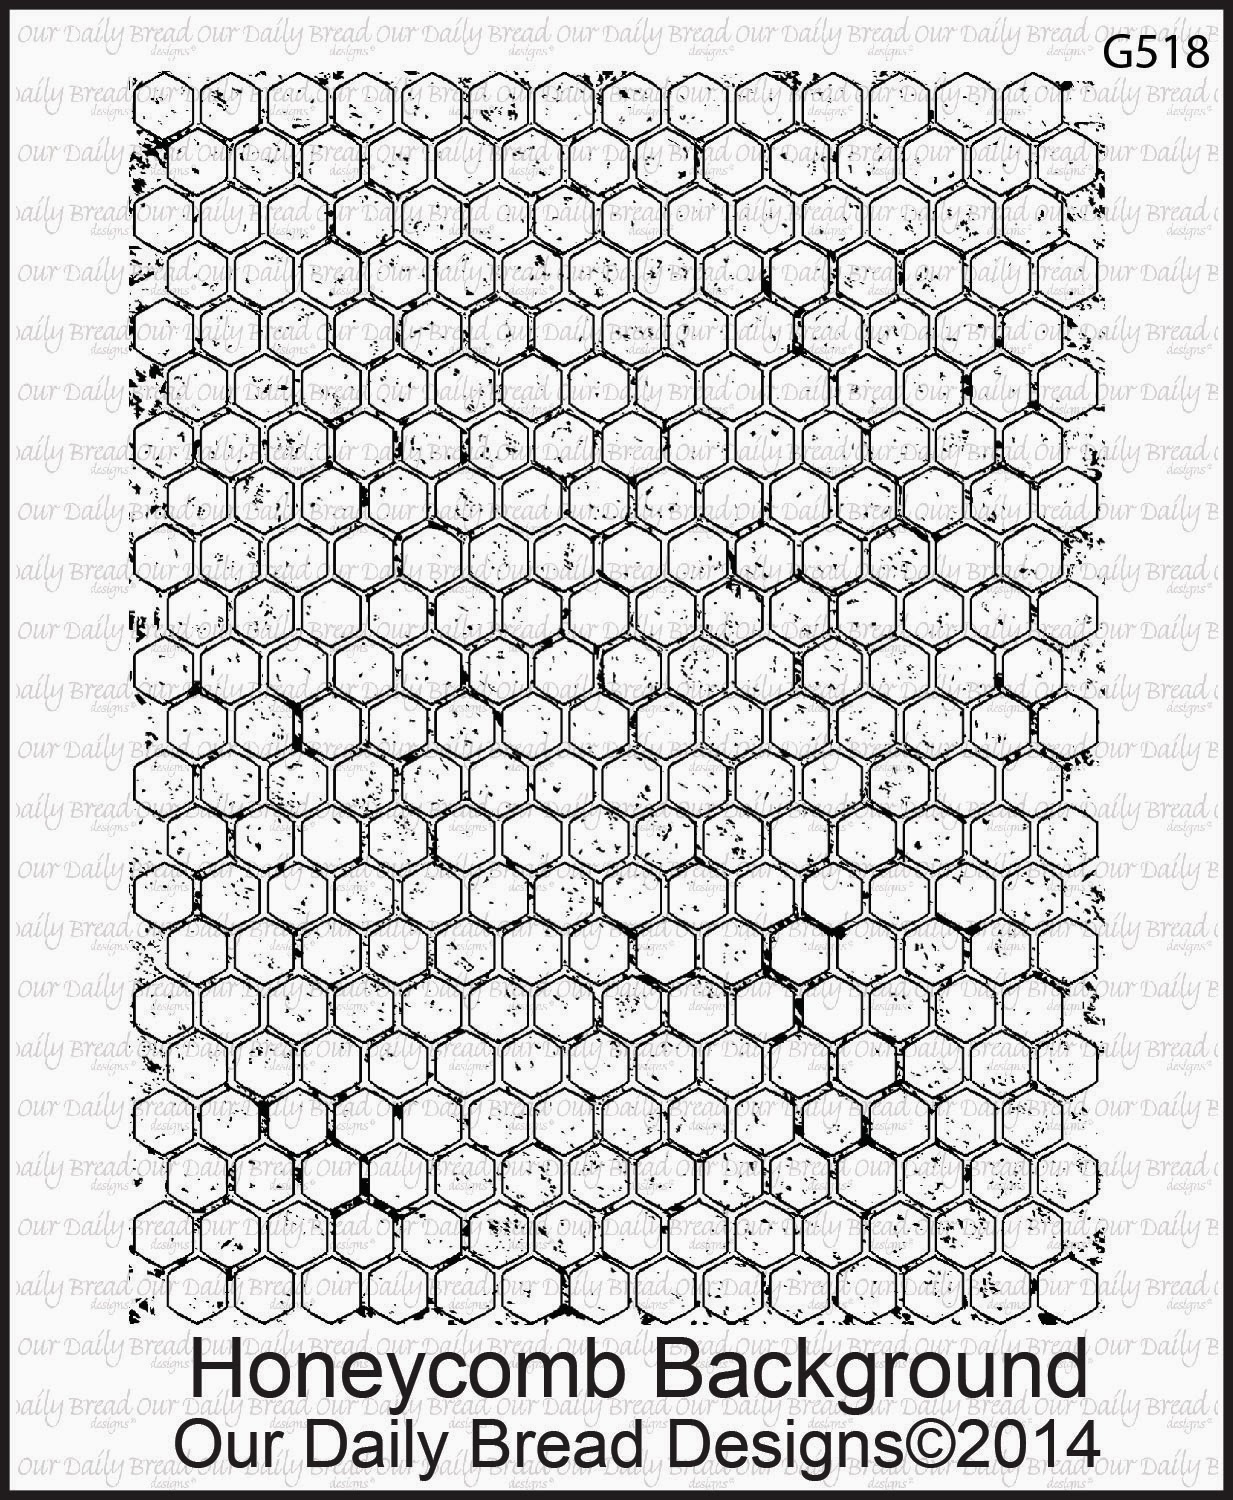
I am excited to share this card with you today. It was so fun to create! I used this month's ODBD release: Honeycomb Background, Sweeter Than Honey, Zinnia (bees) as well as the Zinnia and Leaves dies to cut them out.
I stamped the honeycomb background with VersaMark and clear embossed, then sponged with various Distress Inks, and then cut out to form a "frame" for my image and sentiment. I stamped the image and sentiment with Memento and colored the image with Copics, making another Glossy Accents blob of honey on the jar and on the "table". When that was dry, I added my honeycomb frame and matted with the black polka dotted designer paper (Crafty Secrets), and put on a base of white. I added some more Glossy Accents to some of the honeycomb cells. If you look closely you might be able to see the effect of ooey gooey honey in there. I added the little gingham bow and then moved on to the inside.
I had this idea to add a fun interactive element to the inside, so as you open it up, here is what you see.
As you can see, I used the cut-away background inside, along with more of the designer paper, but the fun thing was this pop up bee!
To create the pop up, I used a circle punch (1") and hand cut a spiral around it until I was to the end. I die cut one bee, colored it and adhered it to the spiral. I doodled dash lines on both sides of the spiral, and then cut a Spellbinders Label for a place to write my message, and adhered the other end of the spiral behind it. To be sure the spiral would lay right, I curled it up in to it's circle, and with the bee adhered, I closed the card and marked where the spiral ended, and that's where I adhered the end.
I hope you enjoyed my fun little card. I do so many serious cards... it's nice to jump out of the box and play in a different box for a little while! LOL!
I hope you have a wonderful weekend!!!
Today's Blessing:
Romans 5:5
"For we know how dearly God loves us, because He has given us the Holy Spirit to fill our hearts with His love."
Hugs,
Wednesday, March 5, 2014
Friends are Flowers in the Garden of Life!
Hello friends! I hope you are enjoying a wonderful week!
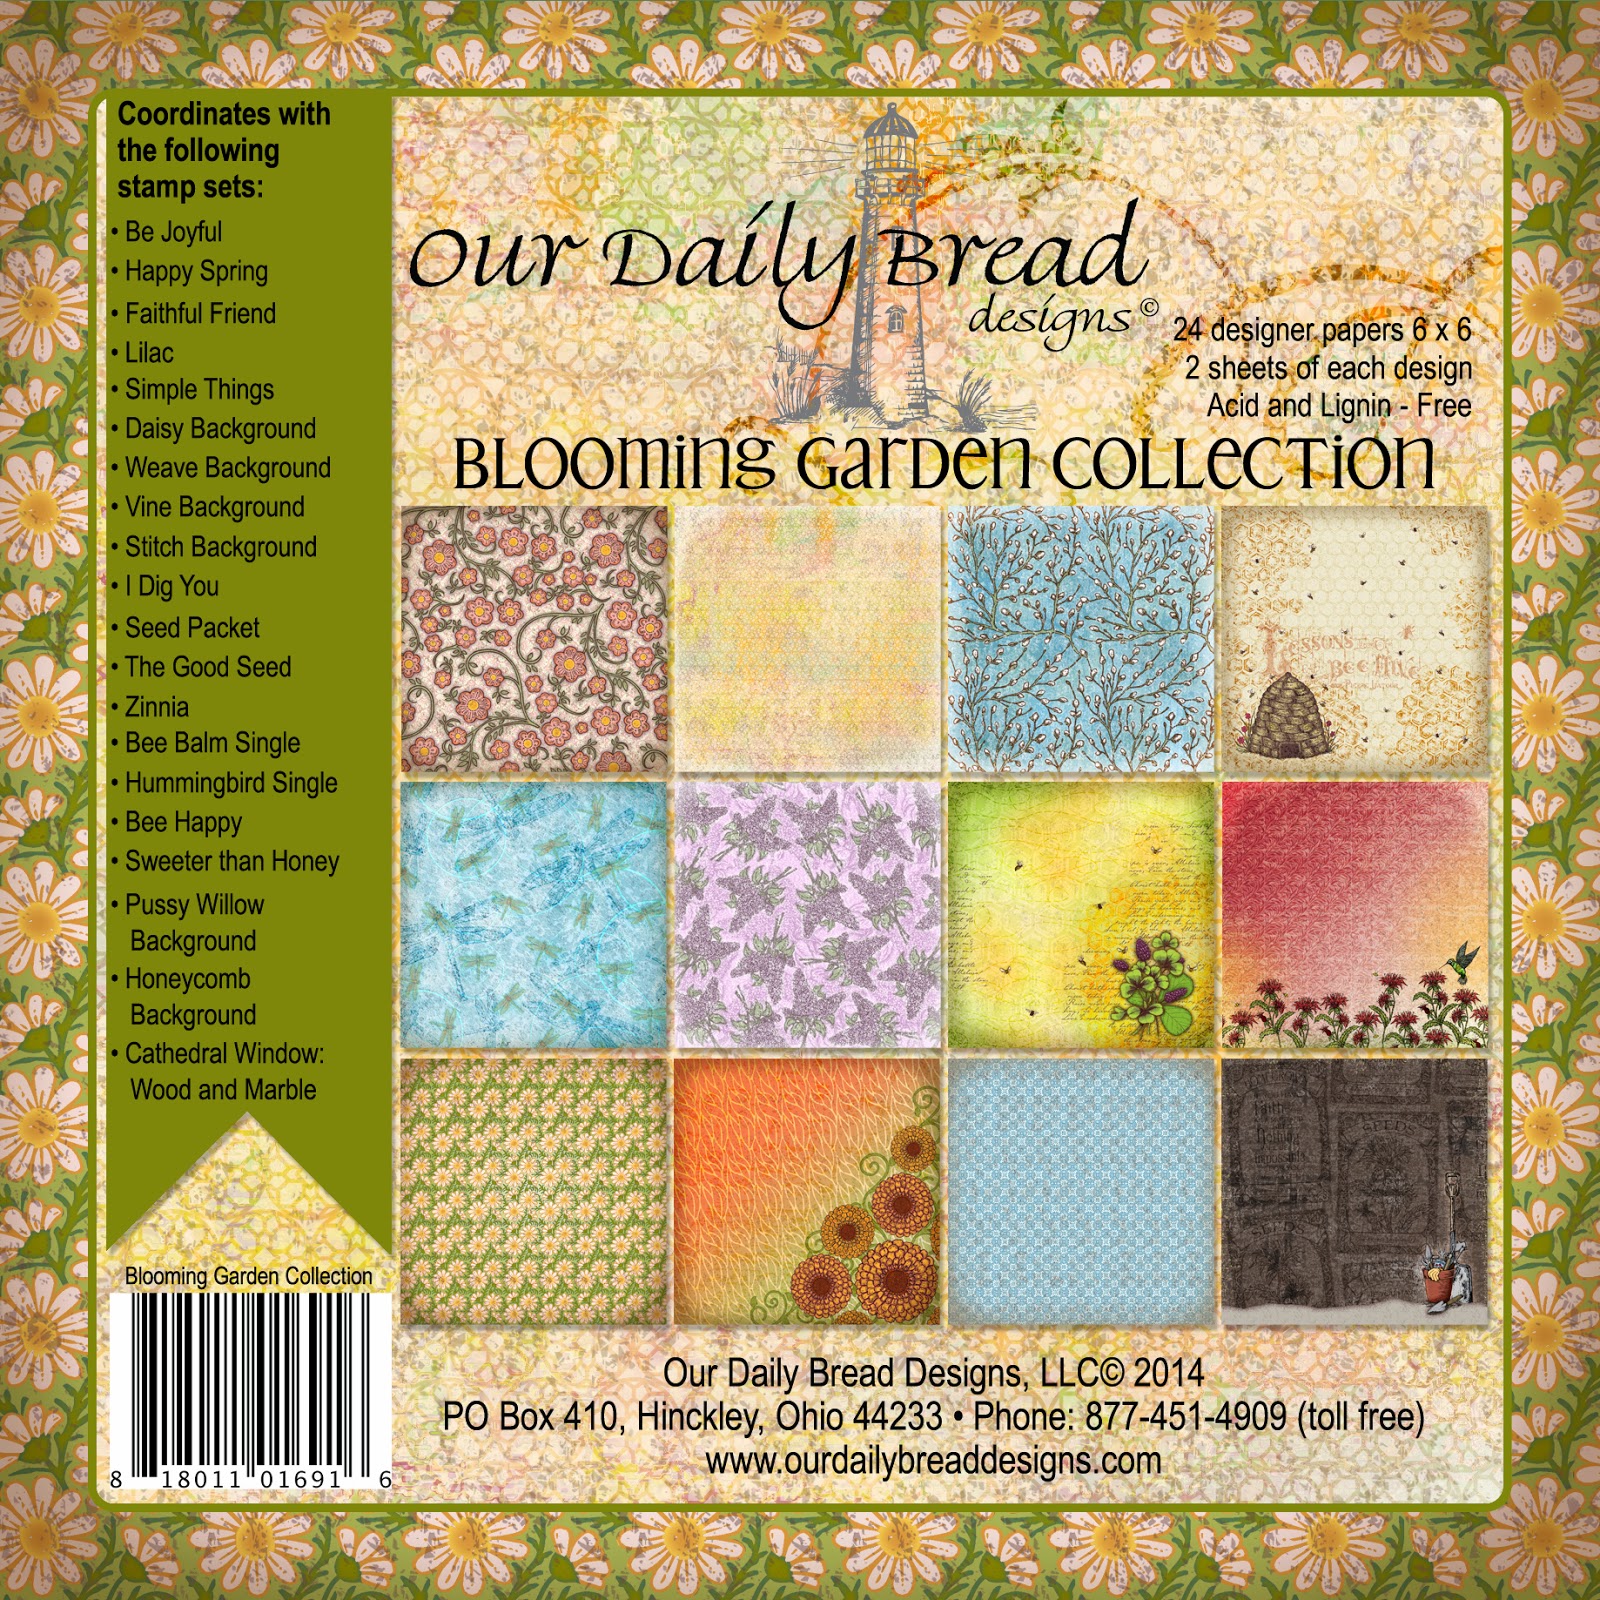
I'm popping in to share a real quick card I made with this month's release from Our Daily Bread designs! I stamped the small Zinnia from the Zinnia Set twice, as well as the bees. I cut the large zinnia, the bees and the leaves with the ODBD Custom Zinnia and Leaves Dies, then hand cut a smaller section of the second zinnia to pop up on dimentionals on the first. I embossed the pretty designer paper, also just released and called Blooming Garden Paper Collection, with an MPress folder. I lightly sponged over the embossed pattern with Gumball Green in to make it pop a little. I matted the designer paper with a layer of Summer Starfruit and put that on a base of Gumball Green, all from SU!. I stamped the sentiment with Memento and cut with a Spellbinders die. I then lightly stamped around the edges of the die cut with the new Honeycomb Mini. I LOVE that little stamp!
I hope this reminds you that spring is getting very close now!!!
I am entering my card in the following challenge:
Crafting For All Season #72 (spring into Spring)
Thanks for stopping by!!!
Today's Blessing:
"If we confess our sins to Him, He is faithful and just to forgive us of our sins."
1 John 1:9
Saturday, March 1, 2014
Welcome to the ODBD March Release!
Hello friends! Welcome to the ODBD March Release! If you have not had a chance to view the full release, you might want to pop over to the ODBD Blog and see it all! The bread sticks have all been having a blast creating samples with our new stamps and dies! I know you will enjoy today's release inspiration!
Before I tell you about my cards, let me just give you a few details on how you might win some ODBD stamps!
Three winners will be randomly chosen from the
comments left on the designers blogs to receive a $25 Gift Certificate
to the ODBD Store, to be used toward the purchase of ODBD Stamps. You
have until March 2, 2014 at 9:00 p.m. EST to make your comments! The
Winners will be posted on the ODBD Blog on March 3rd, so be sure to
check back there to see if you won!
Now on to my cards. For the card above, I made one of my Center Easel Cards that I did a tutorial for HERE. I used the fun set, Be Happy for my image, the bees, and one sentiment. I used Sweeter Than Honey for the other sentiment. I colored the image with Copics and sponged the background with distress inks. I added Twinkling H2O's to the bees wings for a shimmer, but I can't seem to catch that in the photo. For my side panels, I used the Honeycomb Background, and I clear embossed yellow card stock, then I sponged with distress inks and clear embossed the entire sheet again to give a shiny honey filled look. I tore a strip of this same paper for the bottom. I cut the sentiment with the ODBD Custom Recipe Card and Tags Die and tied it on with thin twine. The sentiment on the inside is cut with the ODBD Custom Elegant Oval Dies. I used black twine and glued it to the honeycomb in a bee trail. It was a fun card to make!
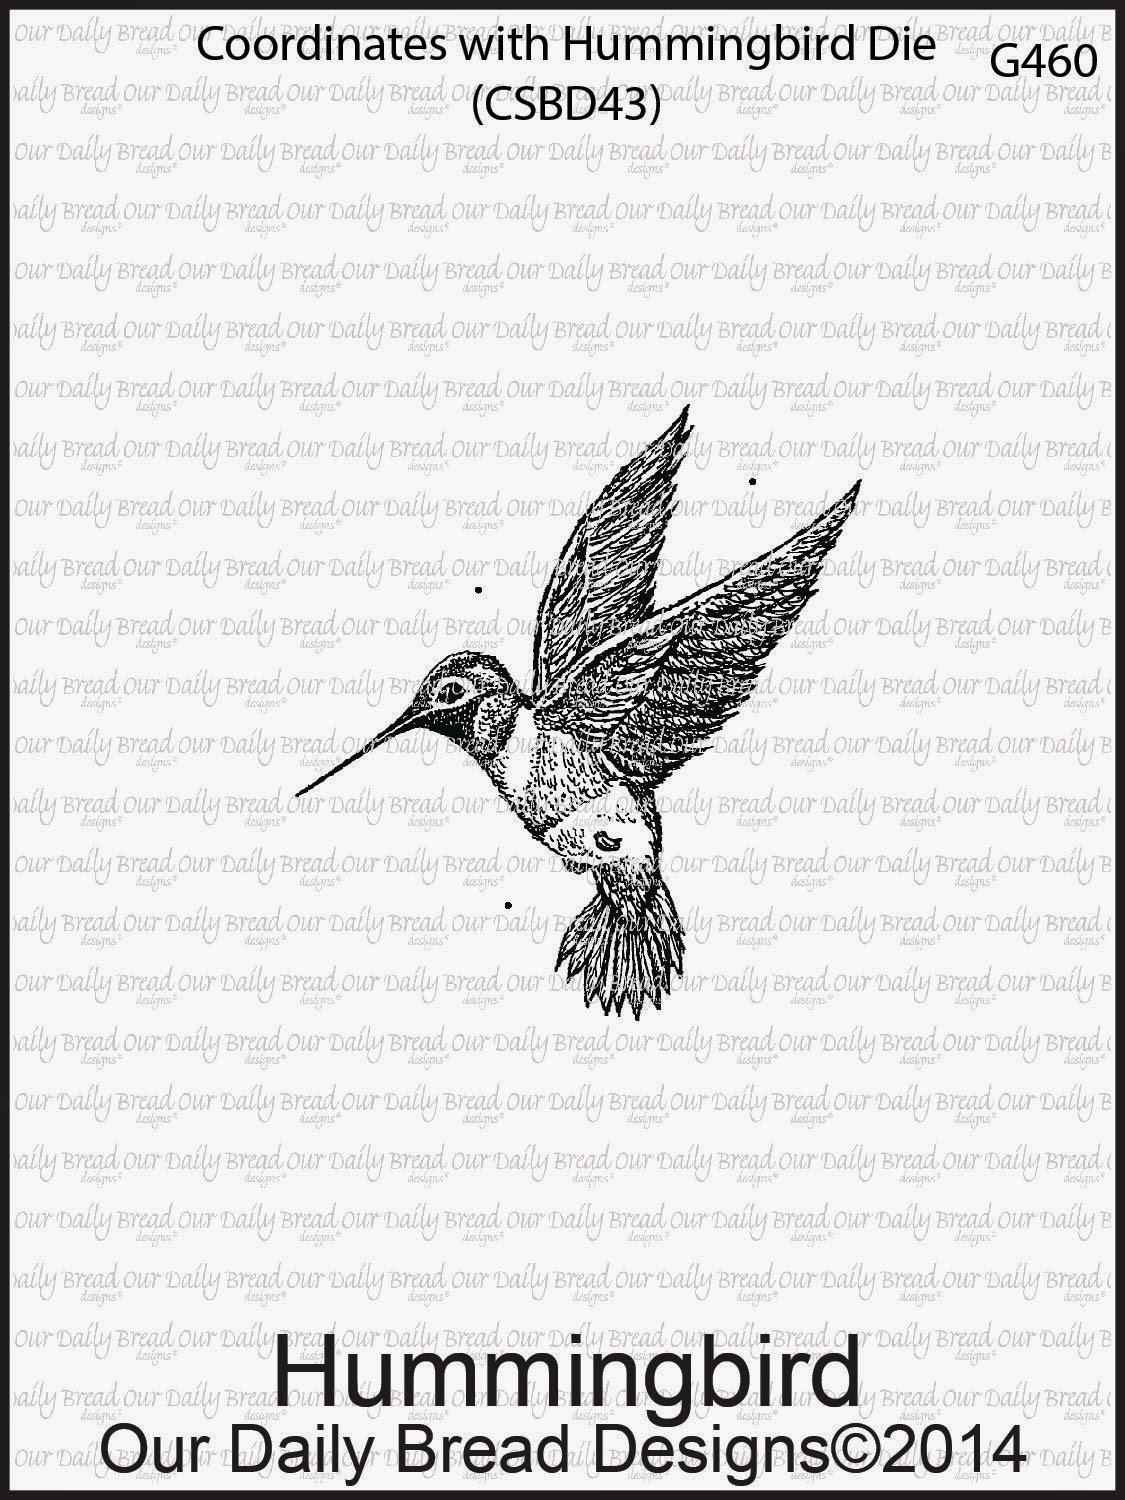
For my second card, I used the gorgeous new Blooming Garden designer paper, and the awesome Bee Balm image, as well as my favorite, the Hummingbird Single and the ODBD Custom Hummingbird Die. I also used the ODBD Custom Daily Chain Background Die. I love it! I framed it with a Spellbinders Labels 28 and trimmed off the extra. This was pretty quick and easy to make, as I let the designer paper do most of the work. The images are watercolored with Tim Holtz Distress Markers. I embellished with a few white pearls and a rose wrinkled seam binding bow.
To recap, here are the new ODBD products I used today:
Please be sure to check out all my DT sisters... you will be amazed at the creativity!
Stacy * Grace * Chris * Dawn * Julie * Sabrina * Cathy * Lori * Sandee * Wanda * Audrey * Silke * Angie * Lisa
Blessings,