Thursday, February 27, 2014

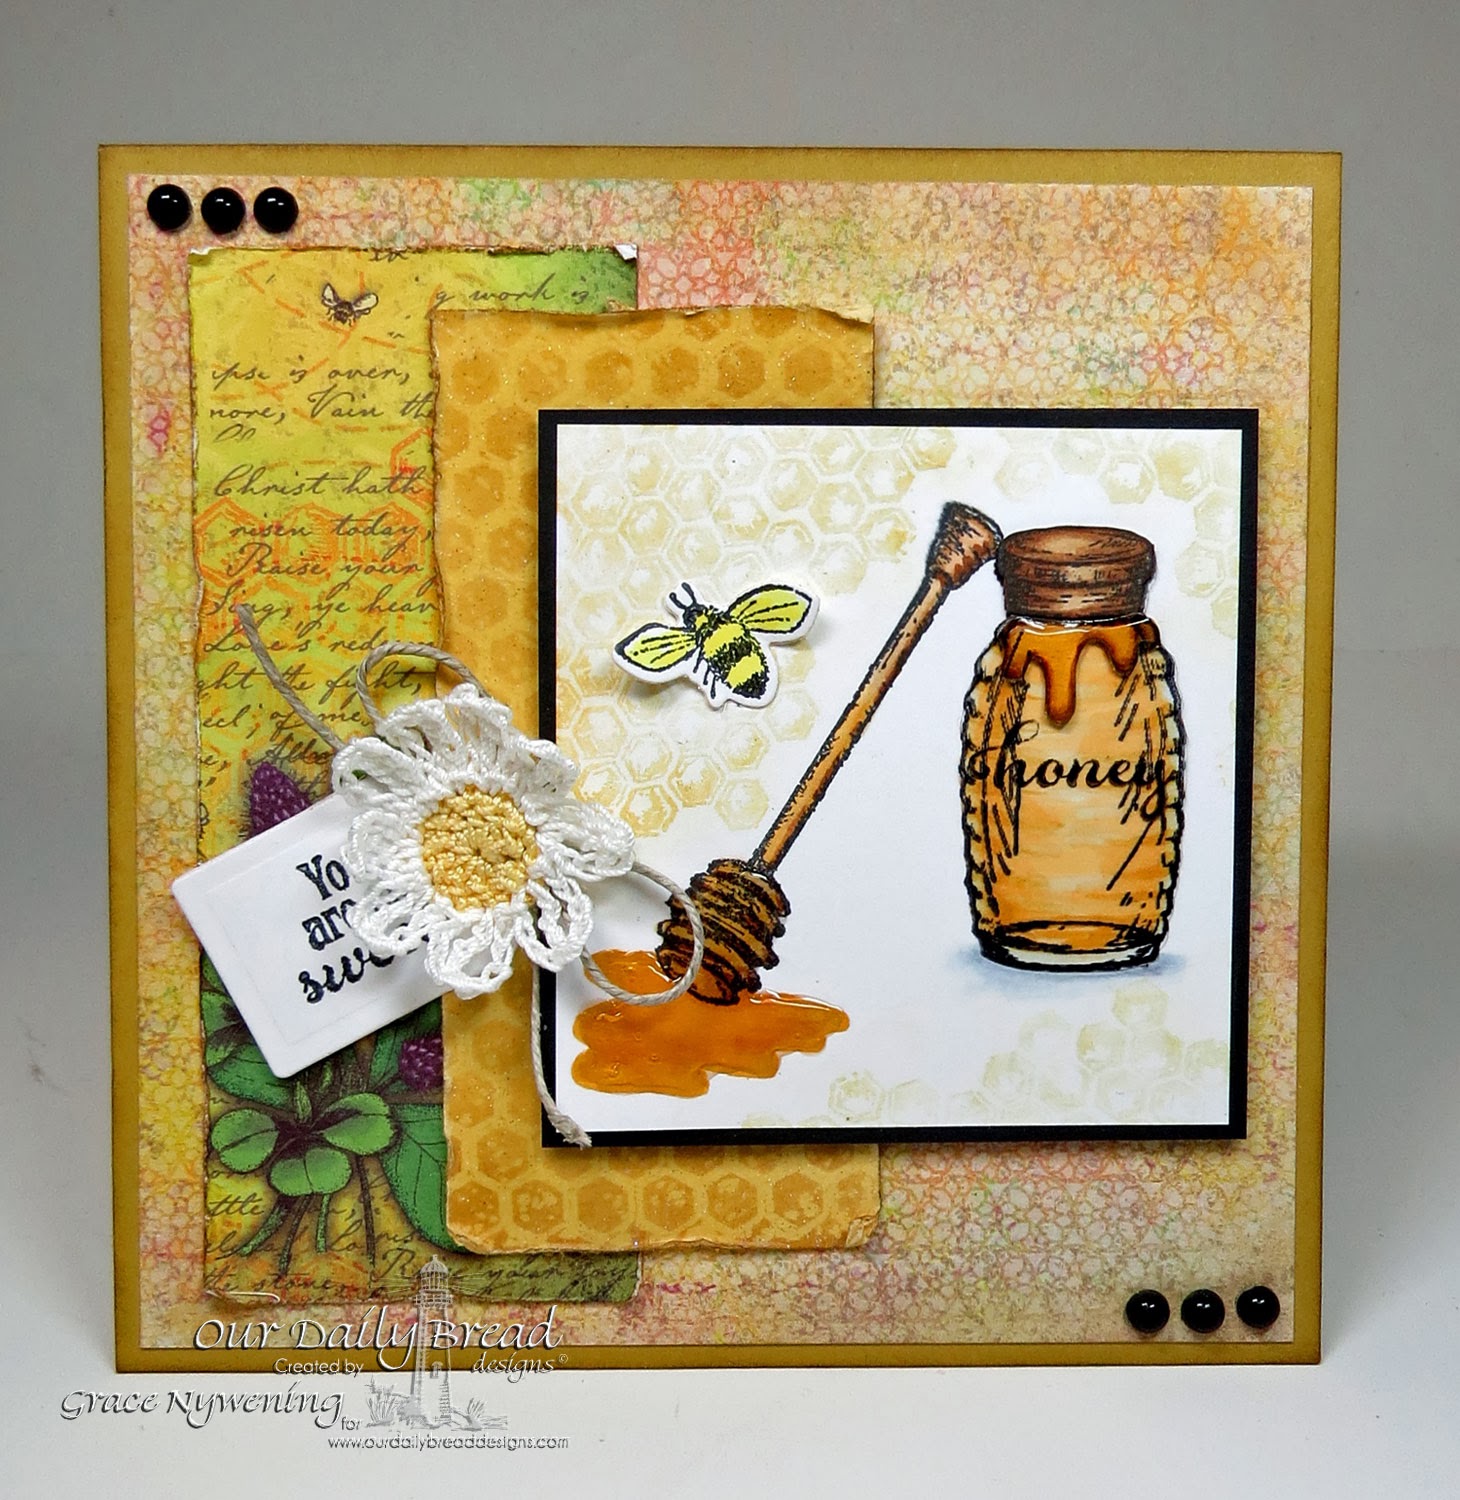
Honey, you are so sweet


Hello my friends!  I have one more fun sneak peek for you before the Our Daily Bread designs release on March 1! 
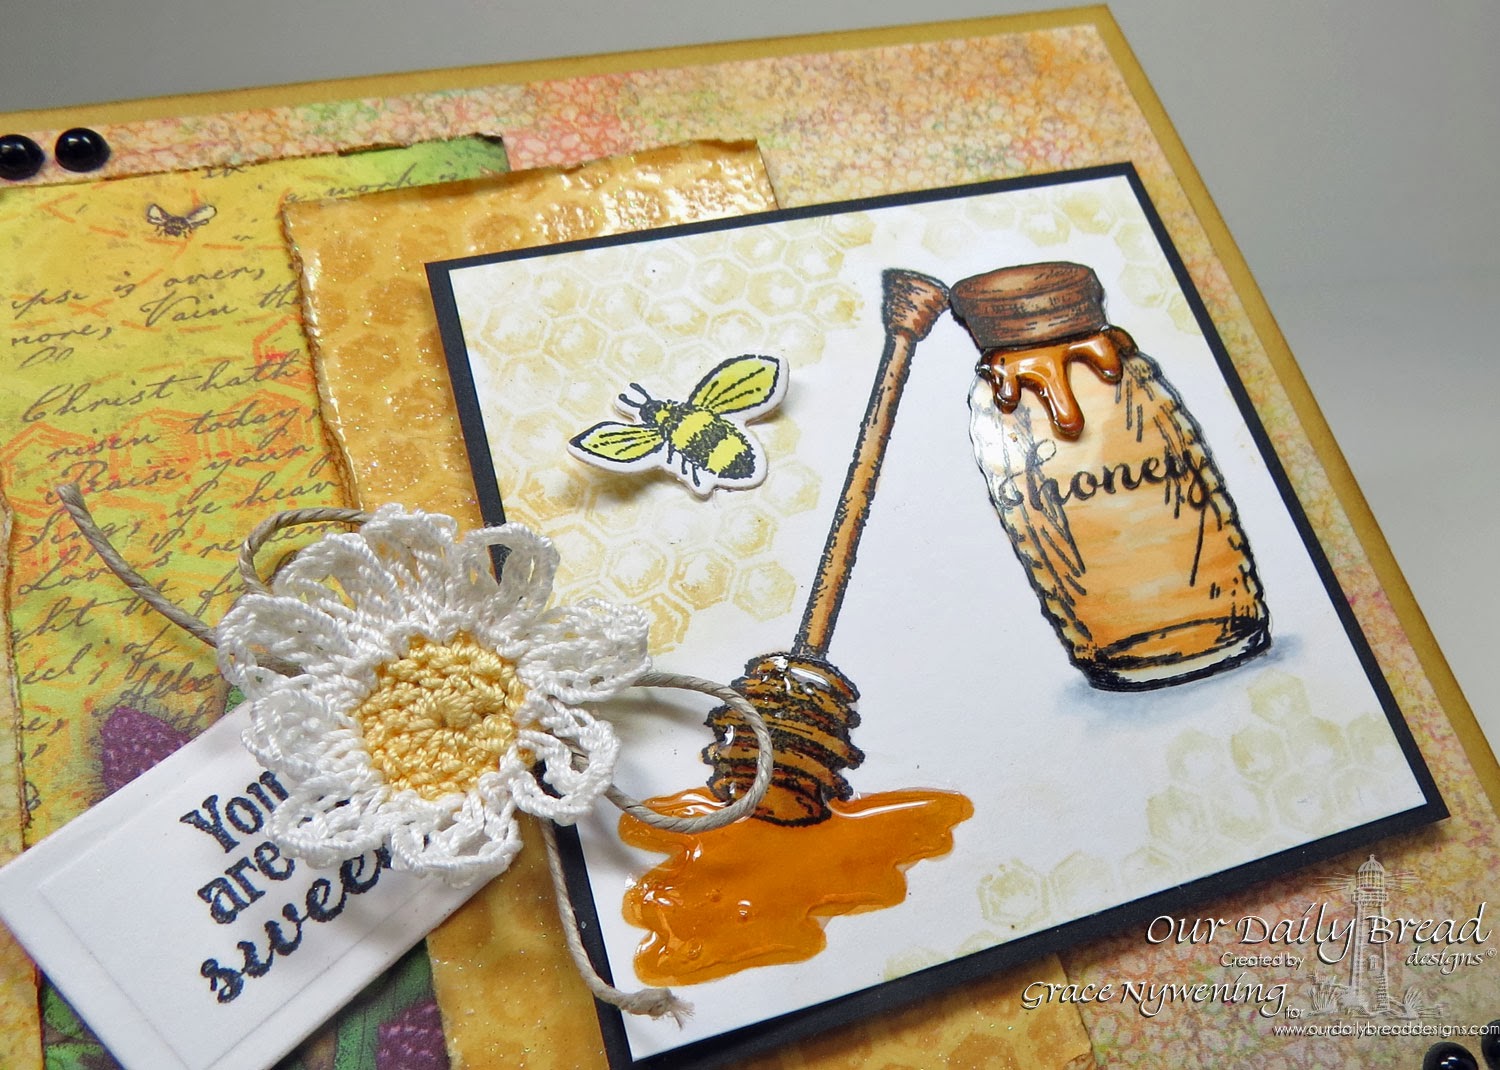
This is a more "fun" card and I have another sample to share with you after the release that was REALLY fun!  Today, I have just a simple layout and design, but I had fun creating the look of ooey gooey honey!  The images and sentiment are from a set called Sweeter Than Honey.  I also used some of the new Blooming Garden Paper Collection for my designer paper.  The little honeycomb images on my main panel are the new Honeycomb Mini and I love it!  The jagged edges let you add touches of honeycomb to most any panel you want.  To make    the larger panel of honeycomb, I used the new Honeycomb Background, also releasing Mar. 1.  I clear embossed it on So Saffron, then sponged with Distress inks to get more definition, and the clear embossed areas resisted the ink.  After I sponged on the added color, I then embossed the entire panel, so it has the shiny look of honey in the comb.  I used the ODBD Custom Recipe Card and Tag die to cut out my little sentiment tag,.


For my jar, I stamped and colored with Copics, then I stamped on acetate with Stazon ink and cut out another jar, mounting it on top of the first so it gives a shine to the bottle.  I added the honey stick and colored a puddle of honey underneath it, and then added two thick coats of Glossy Accents.  Love the way it came out! 

Why is it that kids never wipe the honey or the ketchup off the top of the jars before they put the lid on?  Have you pondered that question?  Lol!  I have... but it seems to be a universal side effect of being a kid! :)  Anyway... experience in this area inspired me to create the honey spillage at the top of the jar. I giggled as I did it.  It IS possible in my house that even the adults may forget that step as well! LOL! After drawing a spill over line and coloring with Copics, I simply layered on the Glossy Accents again for some fun.  

I finished off with a simple twine bow and a crocheted flower, and one of the bees from the Zinnia Set, which was then cut with the Custom Zinnia and Leaves Dies (yes there are bugs and bees in the die set too.... so fun!)


Well... this is my last sneak peek before the release (I think)!  I hope you'll check out the release on the 1st, and I'll see you then!!!

Today's Blessing:
The prayer of a righteous person is powerful and effective.
James 5:16

Hugs,

Tuesday, February 25, 2014

Serendipity Squares and watercolor!


Hello friends!  I'm back with another sneak peek for you at some great stamps being released by Our Daily Bread designs on March 1!  Today I played in the color challenge on SCS, which was Soft Sky, Bermuda Bay, and Midnight Muse.  I also played with the technique challenge from yesterday.  It's called Serendipity Squares and you take several different scraps of designer paper that coordinate, tear them up into little pieces, and then glue them down on a piece of card stock.  You then stamp all over them with whatever you want.  I chose to do a little gold embossing, and stamped this new Bee Balm image as well as the Honey Comb Mini.  You then cut out the paper you have created in to whatever shapes you desire.  The "dessert" option today was to watercolor, so I heat embossed the new Bee Balm image with gold, then watercolored it.  I thought it looked a little flat so I did it again and cut it out so I could pop up the second image for more dimension.  I do like how it came out in spite of the fact that it's a little bit funkier than my usual style. 


  The tag sentiment is another sneak peek at another set, Sweeter than Honey, and I cut it with the ODBD Custom Recipe card and tag die. I used some gold thread and page pebbles for simple embellishments.
I fell in love with the Serendipity Technique so I'm going to be sharing another card with you later in March using the same technique and a little more detail on how to do it.  

I did want to let you know that ODBD is having a special going on ...


From now through Friday, February 28, 2014 11:00PM EST, or while supplies last, when you purchase $75 or more on ODBD Stamps or ODBD Custom Dies (bundles not included) from Our Daily Bread Designs website, you will receive a FREE Grab Bag!  You can read all about it HERE.

Don't forget to mark your calendar for March 1!  You won't want to miss the ODBD release!

Today's Blessing:
God has created us anew in Christ Jesus, so that we can do the good things He planned for us.
Eph. 2:10

Hugs,


Sunday, February 23, 2014

A Sneaky Peek and some Hopes for Spring!

Hello friends!  Happy Sunday!  I hope you are enjoying a relaxing and blessed day!
 Today I have a sneak peek to show you.  This card is made with images and dies to be released Mar. 1 by Our Daily Bread designs. 
The Zinnia is from a new set called Zinnias, and I stamped both sizes and cut them out with the custom die cuts, Zinnias and Leaves.  I colored with Copics and added Stickles to the centers.  For the leaves, I also die cut them with the same dies, and just sponged the veins while still in the die.  Then I turned them on my piercing tool to give added dimension and texture.  The background for this card is also a soon to be released Die... called Daisy Chain Background.  I love it!  For this one, I actually cut one white and one yellow, and mounted them just slightly offset to give a little yellow shadowing and dimension.  I popped up the entire layer on foam tape.  I love the look!  The bee is also from the same Zinnias set, and is cut with the custom die.  I added Twinkling H2Os to give shimmer to the wings.  Just one simple sheer bow was all this card needed for embellishment, and the sentiment (from another new set, Sweeter Than Honey) was cut out with a past release, the ODBD Custom Recipe Card and Tags die set

 Thanks so much for stopping to take a peek!  I know the rest of the Breadsticks have some awesome samples to share, so throughout the week be watching for more sneak peeks and you will fall in love with the feel of spring that's coming your way Mar. 1!

Today's Blessing:

He who has begun a good work in you will complete it untile the day of Jesus Christ.
Phil. 1:6

Friday, February 21, 2014

Love You Bunches with a Twist!

Hello Friends!  I hope you are doing well!!!

Today we are taking a look back at the February release at Our Daily Bread designs.  I thought since Valentine's Day is over, why not have a little fun with a different take on the heart stamps and dies of the Feb. release?  So, I stamped my little hearts from the Bless Your Heart set with Gumball Green Ink. and cut them out with the Custom Ornate Heart Dies.  I then arranged them  on a SB Labels 28 die which I had embossed with a Sizzix heart and vine folder, and had inked the edge with green ink.  I mounted that on a Decorative Labels 28 cut from white card stock.  The designer paper is is some Martha Stewart paper that I have had in my stash for quite a while.  The sentiment from Love You Bunches was stamped with the same green ink and cut with the ODBD Custom Recipe Card and Tags die (smallest tag in set).   I used bakers twine to create "stems" and threaded through my tiny button centers.


Here are the February release products used today:

 G532 - BLESS YOUR HEARTG532 - BLESS YOUR HEARTG529 - LOVE YOU BUNCHESCSBD53 - ORNATE HEARTS DIES

To see more inspiration from my DT sisters, visit the ODBD Blog, and these links below:

Stacy * Sandee * Julie * Grace * Chris * Cathy * Lori Dawn * Sabrina * Wanda


Monday, February 17, 2014

Guard Your Heart!


Hello friends!  I hope your week is off to a wonderful start!!!  

I have a quick card to share with you, made with this month's release from Our Daily Bread designs.   I lve this verse... it's so useful for so many occasions... not just valentines day!  The verse is perfect for our teens, young couples, singles, anyone really!  I put it inside my granddaughter's valentine, along with a few extra words of wisdom that I hope she will always remember.

Anyway... for this card, I used the verse from Heart and Soul.  I also used the Heart and Soul Paper Collection for my designer paper.  Don't you love the paper?  I added some wrinkled seam binding and tiny roses, as well as a key charm and let the dp do the rest.  The white frame is from SB Antique Frames and Accents.  I used a craft base and sponged all layers with Distress inks.  

Thanks so much for stopping by!  I love knowing you were here!!!

Today's Blessing:
Zechariah 4:6
"Not by might nor by power, but by My Spirit", says the Lord Almighty.

Hugs,

Friday, February 14, 2014

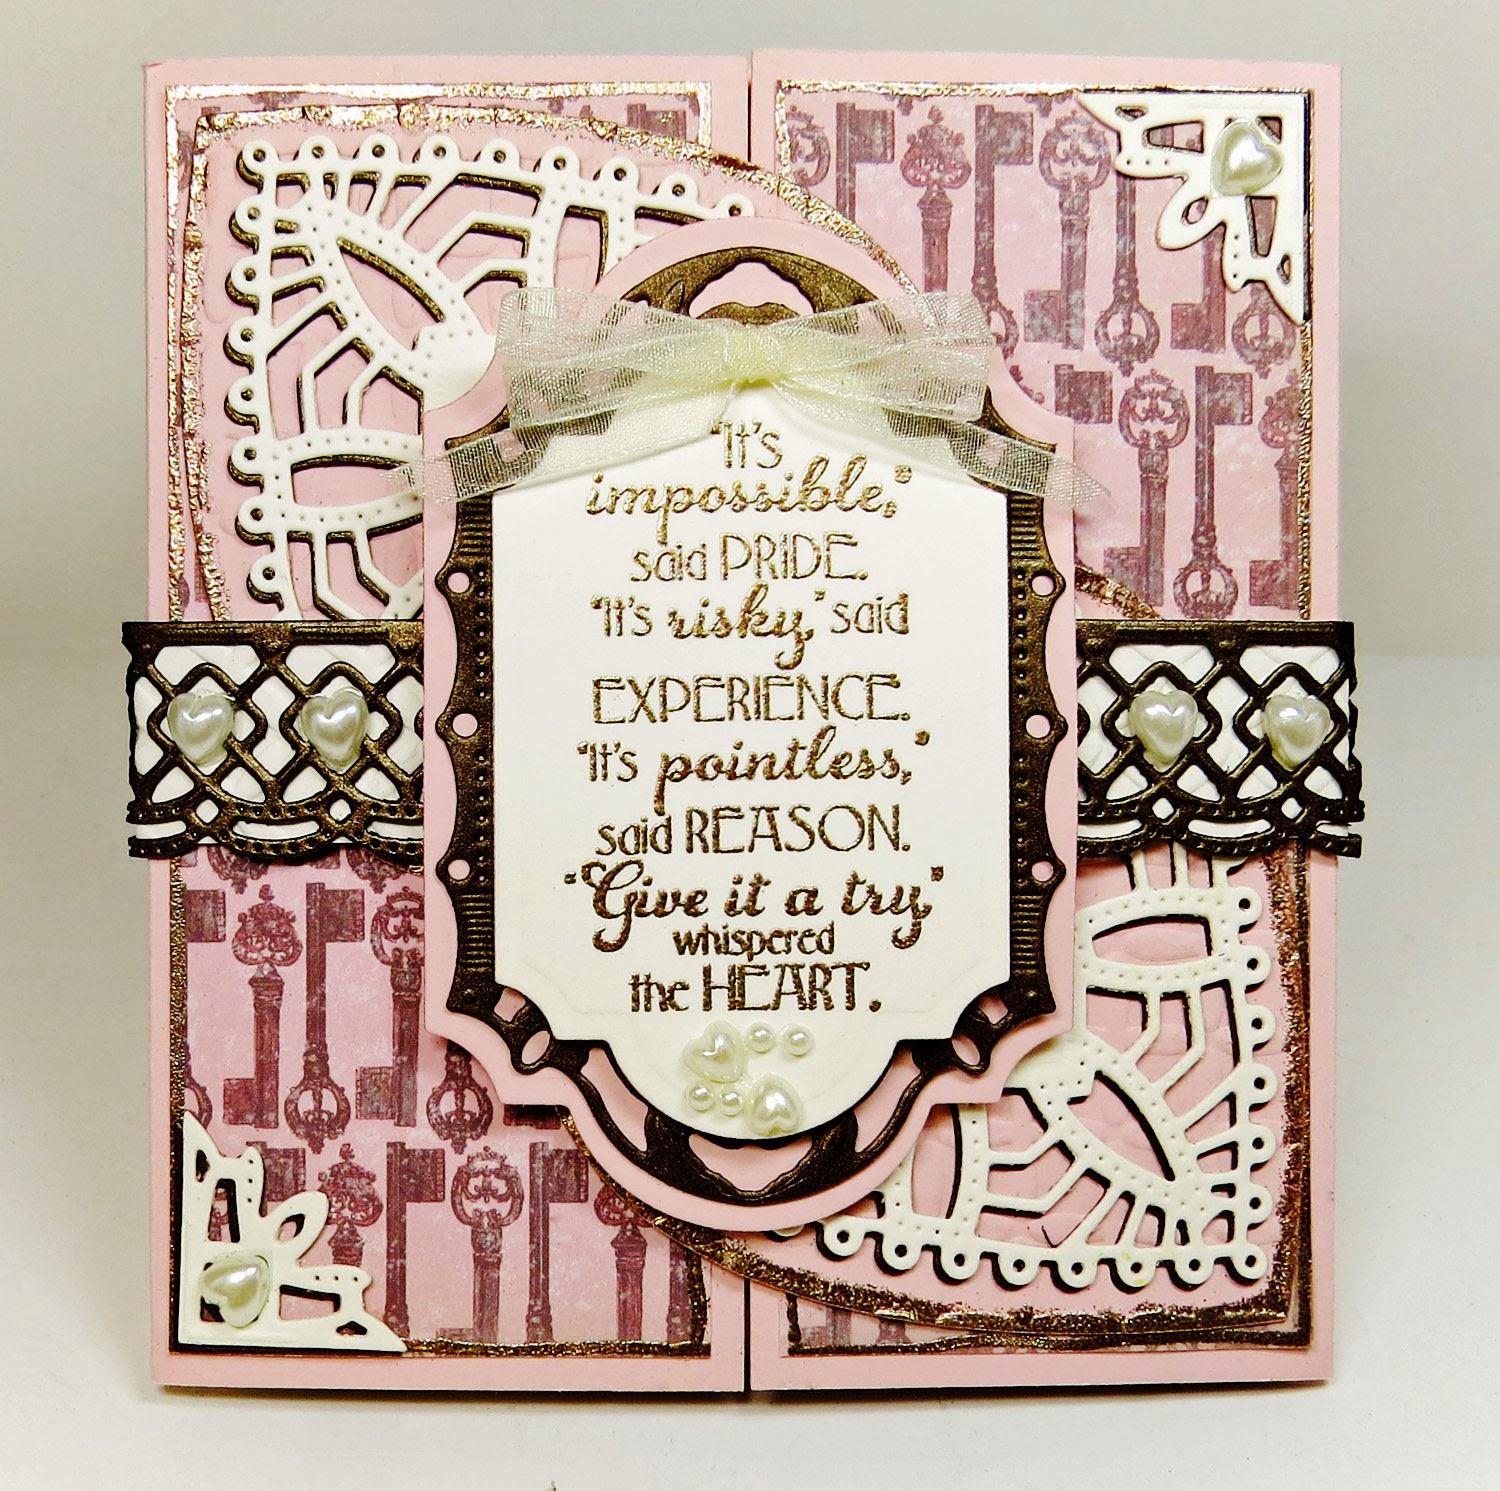
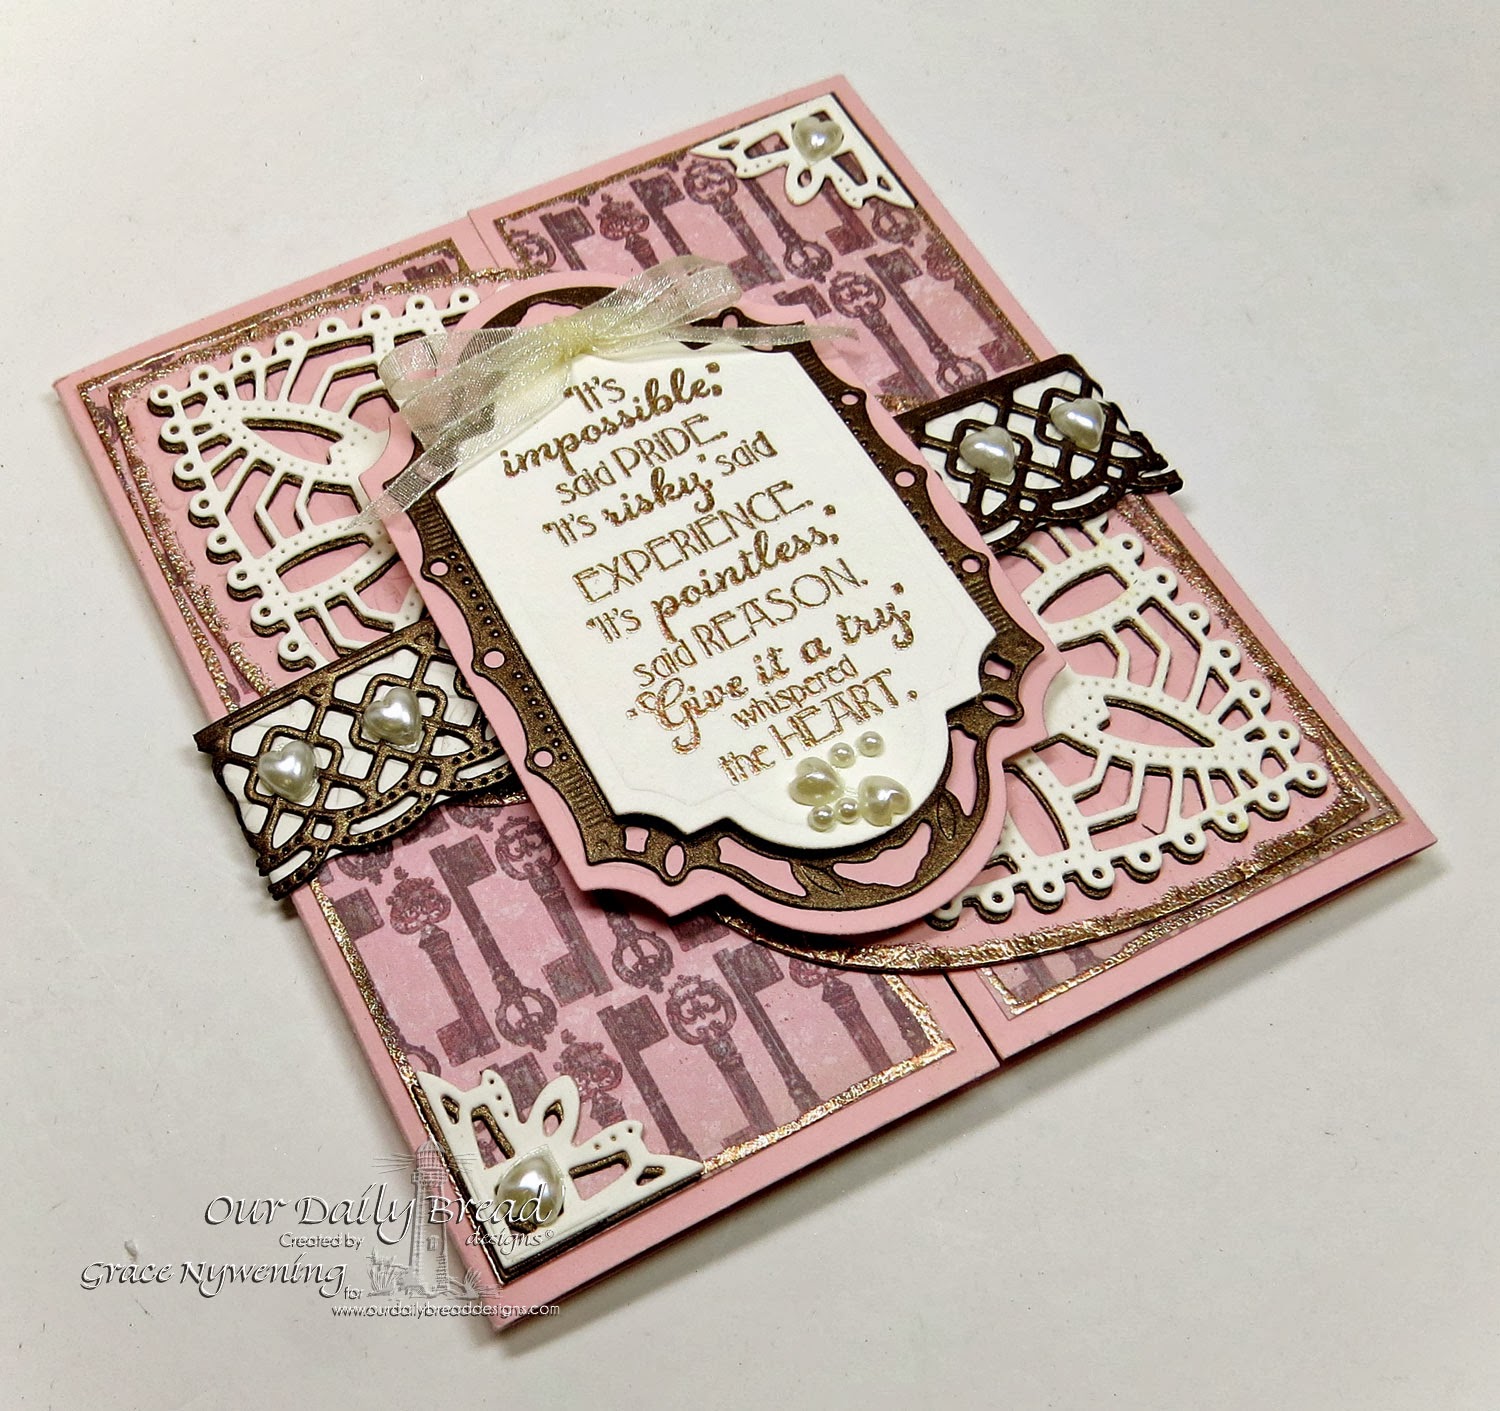
Give it a try, whispered the heart!

Hello friends!!!   I hope you are all doing well!!! 

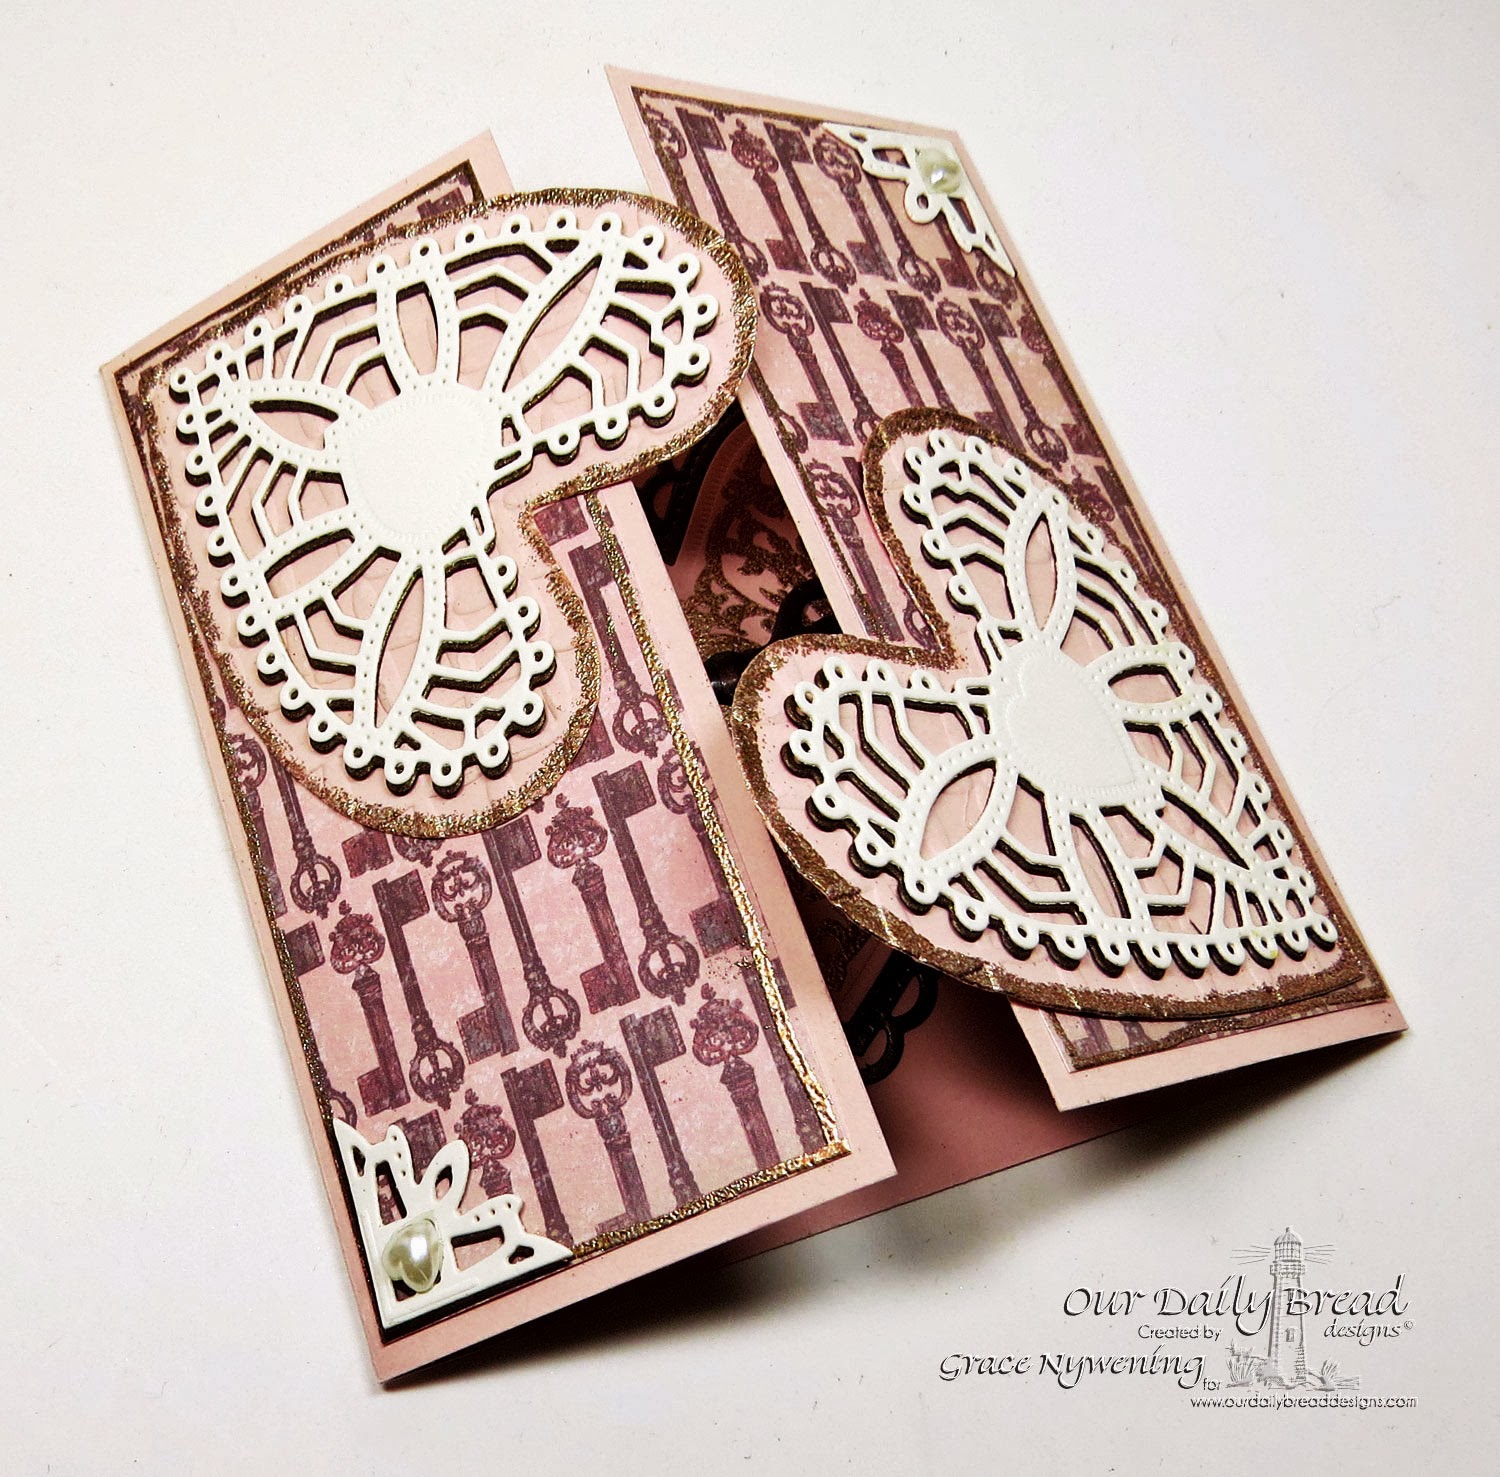
Today I'm sharing a tri-fold card I made with this month's ODBD release! The card itself is 5" x 5.5".  To create it I just cut a 5.5" x 10" piece of blush blossom card stock, and scored at 2.5 and 7.5".  Folded the two outside panels in, and decorated front and inside. 

 I decorated the front with this gorgeous key design paper from the ODBD Heart and Soul Collection.  LOVE this 6 x 6" pad!  I used this month's luscious ODBD Custom Ornate Heart Dies to cut two hearts from blush blossom card stock, and then the lacy die from ivory card stock and bronze card stock.   I layered them together with the second layer of the lacy die cut from the bronze card just slightly offset from the ivory, just to give a shadow to the die cuts.  I also used my VersaMark pen to very unprecisely outline the hearts and embossed them with Midieval Metals embossing powder. I adhered them as shown below, and they kind of latch over/under to keep the card closed pretty well.  I added a couple ivory corner dies from the ODBD Custom Decorative Corners die, and embossed the edges of my key paper the same as the hearts. 
   
 
 .

  I used Love You Bunches, and stamped my sentiment on ivory card stock, and embossed it with Medieval Metal EP.  I cut that with a SB Labels 28, and then with a Decorative Labels 28 from bronze card stock.   I matted that on to a third layer (Labels 28 cut from blush blossom card) and then I created a belly band to wrap around my card.  First I cut the length of ivory card stock I needed, then I die cut the gorgeous lace trim from the newly released ODBD Custom Beautiful Borders Dies, and overlaid that on the ivory.  Adhered it all together and that forms the band that holds the card together.  I decorated with a few heart pearls but kept it simple so the dies and stamps took center stage.

On the inside, I used more heart dies and decorative corner dies from bronze card stock, and I used the gorgeous Bless Your Heart image to emboss this gorgeous flourished design on my blush blossom card stock, cut it out with the custom ornate heart dies, and adhered to the bronze larger heart die cut.  I added the decorative corners and a bronze key from K&Co to complete the look.


I hope you enjoyed my card today.  It is a little different, but it was fun to create. 


Thanks so much for stopping by!  I'll be giving away another little bundle of goodies soon, so if you are a regular, please just be sure you leave a comment!  If you do not have an email address associated with your profile, or if your profile is not open to the public, I will announce the winner here or on your blog if you have one... otherwise I will just email you to get your address!

Today's Blessing, 

Phil. 4:8
Whatever is true, whatever is noble, whatever is right, whatever is pure, whatever is lovely, whatever is admirable- think about such things.  

Hugs,
 

Monday, February 10, 2014

Pockets full of love!

 
Hello friends!  I hope you are warm and dry where you are!  We are bracing for a storm here in the Carolinas, and this time it sounds like it could be a doozie! 

I wanted to share a fun card I made for my Granddaughter for  Valentines Day.  It has 2 fun pockets!  I added tags that tuck into the pockets and attached them inside the pockets with twine and tape.  The pretty designer paper is from this month's release at Our Daily Bread designs, and is called the  Heart and Soul Paper Collection.

For the images, I stamped the fun floral heart from Clean Heart on pink card stock with white craft ink, and then heat embossed with white embossing powder. I cut it out with the second largest heart die from the ODBD Custom Ornate Heart Die Set, and then cut the largest heart out of white card stock to mat it on.  I did the same with the pink tag, stamping my sentiment from Bless Your Heart, and parts of the small heart from Clean Heart, and then cutting with the largest tag from the ODBD Custom Recipe Card and Tag Die.    The small tag is stamped wtih Rose Red ink and cut with the small tag from the ODBD Custom Recipe Card and Tags Die Set.  

The paper lace edging of the lower pocket is cut from the Beautiful Borders Dies, also released this month.  I added a stenciled heart from the Ornate Heart Dies in the lower corner, some page pebbles and some ribbon to finish off the card.

Card Recipe:
StampsClean Heart (large heart image), Bless Your Heart (2 sentiments), 
Ink: Rose Red, Pink Pirouette, White Craft (with white embossing powder)
Accessories: Store bought doily, Page Pebbles, Ribbon, Twine

Thanks so much for stopping by!!!  If you live on the east coast of the US.... stay warm and safe these next few days!!!  I'm hoping not to have to go out at all!  Maybe that means more stamping time?  We'll see!

Today's Blessing:
1 Cor. 2:9
No eye has seen, no ear has heard, no mind has conceived what God has prepared for those who love Him.

Hugs,