Hello friends! Welcome to the ODBD Special Christmas Release!
This is a little surprise release Kelley has for you, and like all the releases, there are opportunities to win prizes!
Three randomly selected winners will each receive a $25 Gift Code to the ODBD Website just for commenting on the Design Team cards! You
have until November 16, 2016 at 9:00 p.m. EST to leave your comments on
the Designers Blogs for a chance to win! The Winners will be posted on
the ODBD Blog on November 17th, so be sure to check back there to see
if you won!
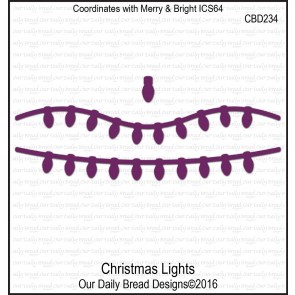
My first card is made using the ODBD Double Display Card Kit to create my fancy fold! This card spotlights the awesome new release, Holly Oval Die on my front panel, as well as the new Holly Jolly Paper Collection 2016. I also used this month's regular release, Merry & Bright, Christmas Lights Dies, and past releases: Layered Lacey Ovals, Layered Lacey Squares, Pierced Rectangle Dies, Log Cabin Quilt Dies, Peaceful Poinsettias, and Lovely Leaves Dies.
I have to just say I love this holly paper! The traditional colors and patterns are always a go to combo! It's also so much easier to make these fancy fold cards when you have the card base already cut and scored as they come in this kit! I measured the panels and cut design paper to fit the panels. I cut the Holly Oval from green mirrored paper and mounted that on a white Layered Lacey Ovals die cut. I cut my gold ribbon and passed it through the Layered Lacey Ovals die, then I adhered the left side of the oval to the left side of the card front. (I had tried the alternative first, which is to make the oval panel and ribbon removable) but I preferred it this way after experimenting a bit. I decorated the front with several cuts of Peaceful Poinsettias from red card stock which I had spritzed with gold glimmer spray. I did the same with the greenery from the Lovely Leaves Die set, and finished off with some tiny gold flower center stickers.
For my second card (below) showcasing the Holly Oval Die, I used white card stock and gold mirrored paper to create a clean but elegant card. I used a past release, Sending My Love Stamp/Die Duo to die cut my word, Sending, and to stamp and heat emboss the words Christmas Blessings. I cut that sentiment panel with one of the Log Cabin Quilt Die strips, and I cut three Peaceful Poinsettias die cuts from white, and three Merry Mosaics die cuts from gold and spritzed the poinsettias with gold glimmer spray. I shaped them a bit and adhered all to a white embossed panel, which I had embossed with a Sizzix Holly folder. I cut that embossed panel with a Double Stitched Rectangle die. I matted that with another white layer cut with the outer border from the Snowflake Sky die set. I popped that all up on a gold mat, using foam tape, and then I adhered that to the white base. So while it's a pretty layered up card, it is also clean and I actually love how it came out.
To recap, here are the NEW SPECIAL RELEASE products I used today:
The products I used today using the Nov. 1 release are:
To see the inspiration the rest of the team has for you, please visit the links below:
* Diana * Sandee * Lori * Helen * Julie
You can see the entire Special Release HERE.
Thanks so much for stopping by!


