Hello friends! Welcome to the April Our
Daily Bread Designs release! If you have not seen the entire release you can do so
HERE. Once again... spring is in the air and the team has designed some amazing creations! As always, Kelley is giving away prizes for this release:
Three randomly selected winners will each receive a $25 Gift Code to the ODBD Website just for commenting on the Design Team cards! You
have until April 2, 2017 at 9:00 p.m. EDT to leave your comments on the
Designers Blogs for a chance to win! The Winners will be posted on the
ODBD Blog on April 3rd so be sure to check back there to see if you
won!
I simply folded a top fold A2 card, die cut the lattice background from the same white card stock, die cut the Vintage Label from pink card stock and sponged with worn lipstick distress ink. I stamped the sentiment and die cut the panel with a smaller Vintage Label and popped each layer up on the lattice background. To make my floral spray, I die cut several of each size petals from the Roses Die set, sponged with worn lipstick, spritzed with water, and scrunched up. I left them to dry all scrunched up. Once dry, I opened them and using my large ball embossing tool and a mat, I worked the petals until they cupped a bit and then I layered them up by size. I made the bud by turning several of the smallest petals around my straight piercing tool to create a circular shape. I glued each petal over the last, overlapping just a bit. I cut a bit off the bottom and glued the bud to the inside of the rose. I made one little blossom the same way but only used a few petals. I die cut several leaves from the Rose Leaves die set and a flourish from the Fancy Foliage die set. I felt the flowers needed center stage so I left off any further embellishments.
For this card I stamped the floral designs with Real Red and die cut the panels with the gorgeous new Fancy Fan die. This die is so intricate and can be used several ways. It can be used to create a stand alone fan, or to add a fan to a card, and it can also be used to create borders and even the images and sentiments can be cut with the die in such a way that there is a fancy label type cut around them. Watch the DT this month for more ideas!!!
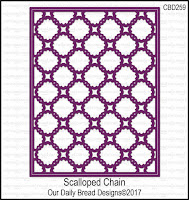
Anyway... this card is a center step card. I used real red behind the lattice background die, and then die cut 4 floral images and 2 sentiments from the Lovely Flowers set and put them together to form a fan. I popped up the fan over the lattice on foam dimensionals.
To create the rose this time, I did not spritz with water or scrunch up. Instead, I just worked the fibers over really well with my large ball stylus. It took a lot to shape these flowers because this card stock is very heavy, but the look I think is very pretty. I did cut my petals apart to create this rose, and I'm pretty happy with how it came out looking like a rose. I sponged the edges with fired brick distress ink, used my piercing tool to curl the edges of the petals down a bit, and I die cut 3 of the leaves and sponged them lightly as well. I adhered this rose with hot glue since it is large and needed to be secure.
Here is another view of the easel card. I added the happy birthday script die cut and added a white panel inside for my message.
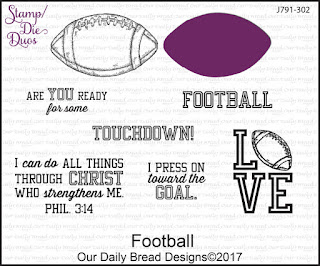
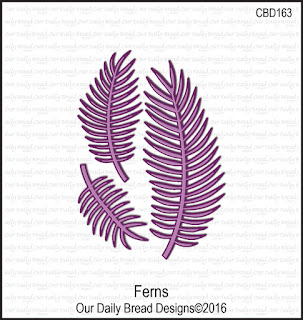
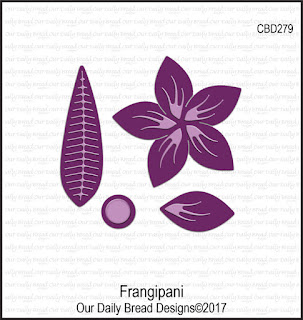
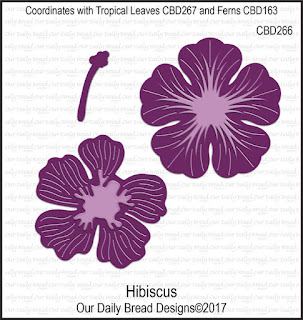
To recap, here are the NEW products I used today:
Here are the links to the rest of the Design Team. Be sure to leave a comment on each blog so you don't miss a chance to win one of the prizes!
Thanks so very much for stopping by!
Blessings,


 .
.