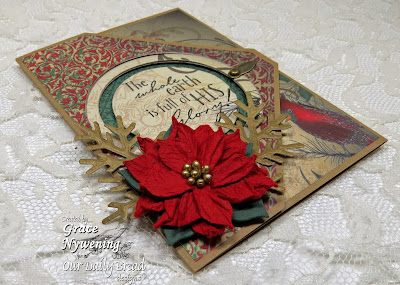
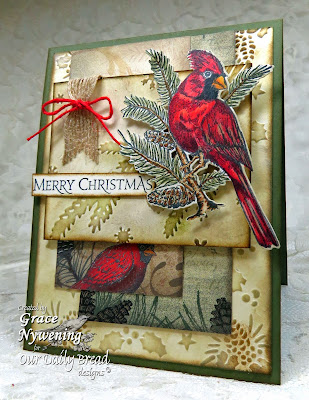
Hello friends! Today I have something fun to share with you! I have never made one of these center easel cards before, but I have seen a couple on Pinterest, and decided to give it a try. I love how it came out!
I could not find a tutorial for this fold, so I tried to describe below how I created this one. I was not thinking of a "tutorial" when I created it, so I did not take photos along the way until near to the end. So, instead, I drew a diagram and I hope that helps explain the process.
I started out with a 5 x 7" base of craft card stock.
Then I cut a piece of white card stock 9 1/2 x 6 3/4" and scored it to fold it in half (at 4 3/4"). On one half of the center fold, I cut to the center fold line at 1 7/16" in from each side. On the center panel between those two cuts, I scored across the panel at the half way point. This forms the easel to which I will adhere the center panel of my card.
Here is the diagram of the fold and cut lines. Sorry the lighting is not the best, but I think you can get the idea.
After the two side panels of the white layer are adhered down on the bottom white half of the card, and the center panel is folded in half, you adhere the solid half (the 6 3/4" x 4 3/4" white panel to your 5 x 7 Craft base.
The following is what you will have after adhereing the two side panels of white card stock down on to the bottom, and adhering the white layer to your 5 x 7 base. (I had decorated my side panels when I took this photo, but it gives you the idea what you should have after following the above directions.)
As you can see, your folded center panel is now going to form the easel that will hold up your main panel.
Next you cut a main panel to adhere to that folded center part to
create your pop up image. I used Craft card stock and cut my panel a
little bigger than the "easel" fold it's adhered to, but just enough to
come to the edges of my base. So my center panel measures 5" H x 3 7/8"
W. Yours could be the exact size as the center panel if you prefer. Decorate your main panel and the side panels however you wish. I will give the details on how I decorated mine below. Just one more step to assembling your card first:
To adhere your main center panel to the easel, I find it easiest to apply adhesive to the lower half of the folded white panel (see photo above), and lining up the lower edge of your decorated panel where you want it, adhere. You will then have the easel, which is only adhered to the bottom half of the main panel, which allows you to fold the card flat for mailing. See below how it looks from the side once adhered. It's also a good idea to put either pearls, flowers or some other decoration on the lower edge of your base to form a "stop" for your main panel to rest against when it is open. As you can see, I used a Spellbinders tag die cut and a stamped sentiment, which is all that's needed to hold the easel up, but not bulky when you want to fold it flat for mailing.
Here are the products I used to decorate this:
Spellbinders Fancy Tags
Other: Craft, White and Real Red card stock, Real Red and Gumball Green Ink, Copics, AnnaGriffith Cuttlebug embossing folder, Red pearls(Michaels), Red Ribbon (May Arts), Dimensionals.
I stamped the holly pattern with Gumball Green, matted with red and adhered to the two side panels. I die cut the
Quatrefoil Pattern from white, cut a craft panel the same size to back it with, and adhered them together, and then adhered the bottom half to the front fold of the center folded panel. I stamped the
Poinsettia Wreath with Gumball Green and then lightly colored with Copic G40. I colored the poinsettias with Copics R24, R29, Y15), cutting one extra with the
Poinsettia die cut so I could pop up the center flower. I cut the green panel, embossed with the Anna Griffith folder and adhered to the bottom of my center panel, and added the pearls. I added a bow to the wreath, and die cut some holly leaves and berries from the
Circle Ornament Die set I stamped the sentiment from
Christmas Blessings with Real Red on white, and cut with a SB Fancy Tag. I hand cut along the embossed line so only the white inner part would be used. I then cut another fancy tag from craft and mounted the white panel to it, and popped that up with 2mm dimensionals. This gives a stopping point for the easel to rest against when open. When it's ready to be mailed, it folds down flat.

Thanks so much for stopping by today! I hope you enjoyed my project and will give this a try! You could use any dimensions you wanted! You don't need to use the same size I did... just play with it and I think you'll love the result! It's a fold that gives a little wow factor, displays beautifully, but is actually VERY easy to do and is very mailable!
Blessings,


