

Hello sweet friends! I wanted to share a really fun project I've been working on. I really love how it came out, but for the life of me I cannot get one photo that really shows it well. I keep getting a glare on the ornament, and if I remove enough light to not have that glare, then the image inside appears flat.
I thought I'd share a brief tutorial on how to create this ornament. I do not have photos of every single step, but I'm sure you can figure out what I don't have shown. This is a pretty basic project.
Here is a basic Materials List:
ODBD Circle Ornament Dies (Holly Leaves)
ODBD Matting Circle Dies (panels inside ornament)
Clear Plastic 2 piece ornament (I got mine at AC Moore and it's about 3 1/4" at widest part)
Light weight watercolor Paper (Pacon Artist Watercolor student grade 192g used here)
Designer Paper of Choice for background
Gold Design Paper
Light weight cardboard (cereal box weight used here)
Inks of choice: SU! Cherry Cobbler, Old Olive and Always Artichoke used here
Glass Glitter, beads or pearls for center of flowers (SU! Champagne glass glitter used here)
Piercing Tool
Embossing Stylus and Mat
Tombow Metal Glue
VersaMark and gold embossing power (fine details from Ranger used here)
Clear Thread or fishing line
Decoration for edges of ornament if desired (optional - Best Creation Gold Peel off Stickers used here)
Ribbon of choice
Pearls or flourishes of your choice
Using Watercolor paper, die cut and eboss 2 complete sets of the Poinsettia Flowers

Cut and emboss 6 holly leaves from Circle Ornament Die Set, and spritz all flowers and leaves with water.

Watercolor the poinsettias and leaves as desired. I colored both sides because I wasn't sure if you'd be able to see the backs of any of the petals since I was making a front and back for this ornament. Now that I've completed it, I'd say just the front would be fine. I used a wet mixture of paints and since poinsettias often have more than one shade on them, I tried to add a little green to some edges, and left some parts more light pink while adding in some areas of darker red. I didn't take any great care in the painting... it won't really matter much! Set aside to dry.
Once dry, or close to dry, using a medium-large sized embossing stylus and an embossing mat, begin shaping the petals as you like them. The more you work the petals, the more you will kind of lose the detail of the embossed die cuts, but you can always go back and add them in again if desired. (I did have to do that, and I used a small embossing stylus for that) Pretty flowers CAN be made simply by rolling the petals over a piercing tool and giving a slight bend in the middle. If that's how you do it, you won't lose that embossed detail on the petals and it will be take less time. It just depends on the look you want.
Using Tombow Mono Metal Glue, layer up your poinsettias as desired. (You will have 2 full layered poinsettias) Using glass glitter, beads, pearls or whatever you choose, adhere decorative centers to flowers and let dry.
Die cut a circle from light cardboard and 2 pieces of gold with the largest die from the Matting Circles Die set.
Die Cut 2 pieces of your chosen design paper using with the second largest size in the Matting Circle Die set.
With VersaMark, stamp the "Noel" in the upper right corner of both pieces of the design paper. Adhere the gold to both sides of the cardboard circle. Adhere the design papers to each gold piece. This gives you a decorative background for the front and back of your ornament.
With your piercing tool, punch a hole through the top of your cardboard/paper where you want to attach the clear thread "hanger". I was able to almost avoid the design paper and just pierce the gold as you can see below.

Take your dried Poinsettias and adhere them to each of the lower left corners of your ornament. Tuck in the holly leaves and adhere. Add pearls if desired. (Paper flourishes would work well too). Using a sewing needle, pass your clear thread through the hole and tie knot. Leave tails on the thread that will allow you to tie them to the ornament hanger itself.
Now, take the largest half of your ornament, and pass the clear thread through the hole at the top of the ornament. Draw it up until your panel fits perfectly in the middle of the ornament, and tie a double knot. I actually don't trust clear thread to not come undone so I added a little blob or hot glue to hold it there. While working with the ornament at this point, you might find it easiest to use a small cup to hold it for you. Now fit the two halves together and tie knot again.
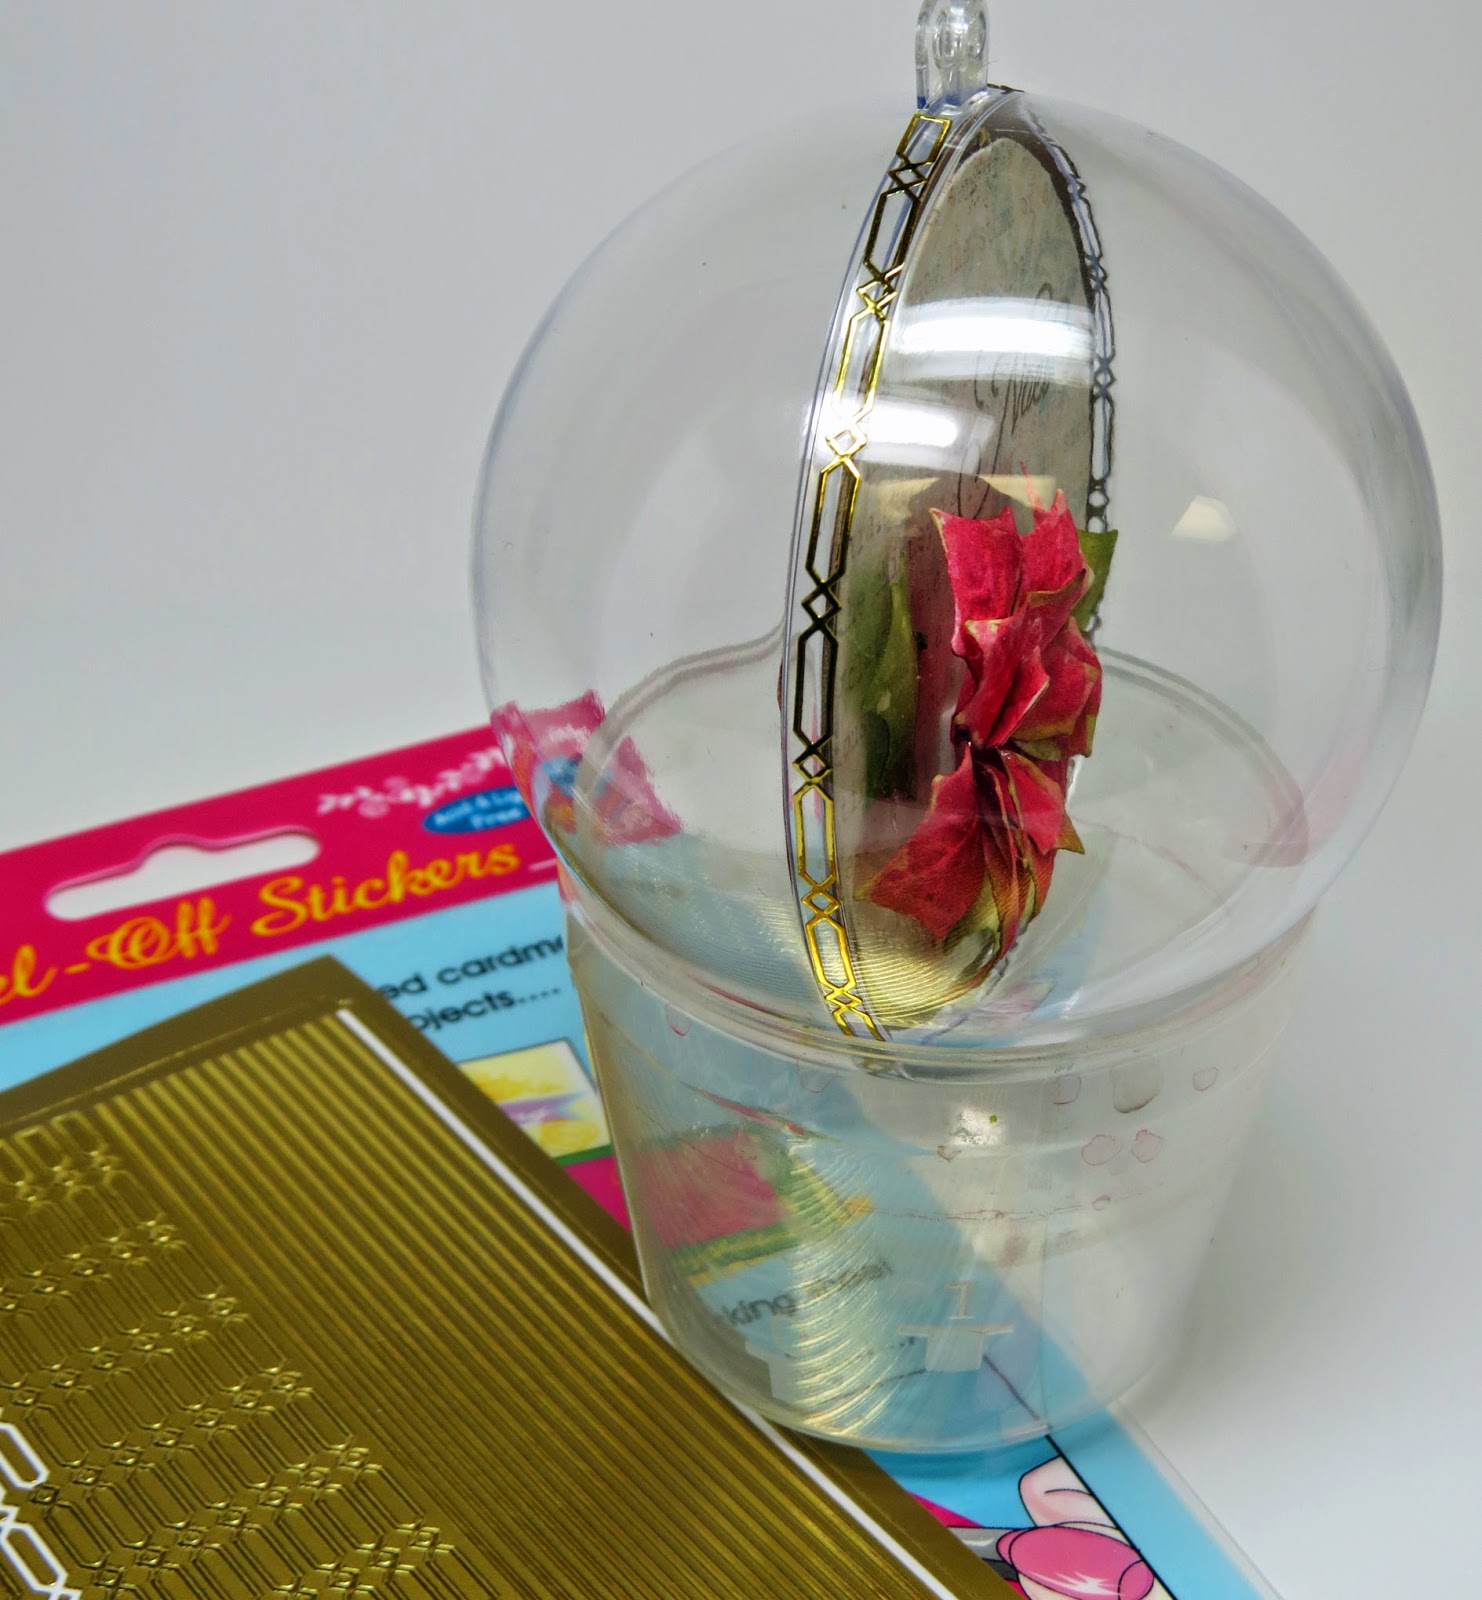
Above are the stickers I used, and you can see how I adhered them right along the seam of the two halves.
Now you can tie your gold cord or whatever you want to use as a hanger. If you want to add a decorative sheer bow, you can do that now, and you are done! The hardest part of this is getting a photo that doesn't distort the sphere, and does not have glare! LOL!
Here are a few more angles of the ornament:

Below you can see the side of the ornament and see that the back and the front are the same and decorated the same.

I hope you'll give this a try. It was super fun and really is a quick project once your poinsettias are painted, shaped and dry. I think this would be a nice little gift.
Thanks for stopping by!
Blessings,

11 comments:
Gorgeous, such a lovely ornament!!
Your ornament is beautiful. Thank you for sharing.
This is so gorgeous. Love it.
wow, this is stunning Grace.
Awesome project, Grace! Just wanted to let you know that we shared your tutorial with our FB followrs today. www.facebook.com/Avenue613
Your work is always stunning!
Hugz,
Chana Malkah, Owner
613 Avenue Create Challenge Blog
Wow what an amazing project Grace. This is sensational.
Oh, Grace, this is a gorgeous Christmas ornament that will be a keepsake for years to come! It's gorgeous, and thank you so much for showing us the steps you so carefully took! Wow, it's so worth all your effort and creativity! You are amazing! Hugs, sweet friend!
Fantastic work :)
Hello dear Grace!
What a joy visiting you, it's been a while I made visits to your blog! Some things are keeping me away from blog land these days!!. will email you later some time. Hope you are doing well. What a beautiful ornament you've made! That too with a tutorial it would be really helpful for those who are planning to make on their own. It's beautiful!!
Absolutely gorgeous Grace, love the dimension you have achieved in this ornament.
Blessings
Maxine
Hi Grace...this is (GASP)...beautiful!!! TFS
Post a Comment