Wednesday, October 1, 2014

Welcome to the ODBD Oct. Release!

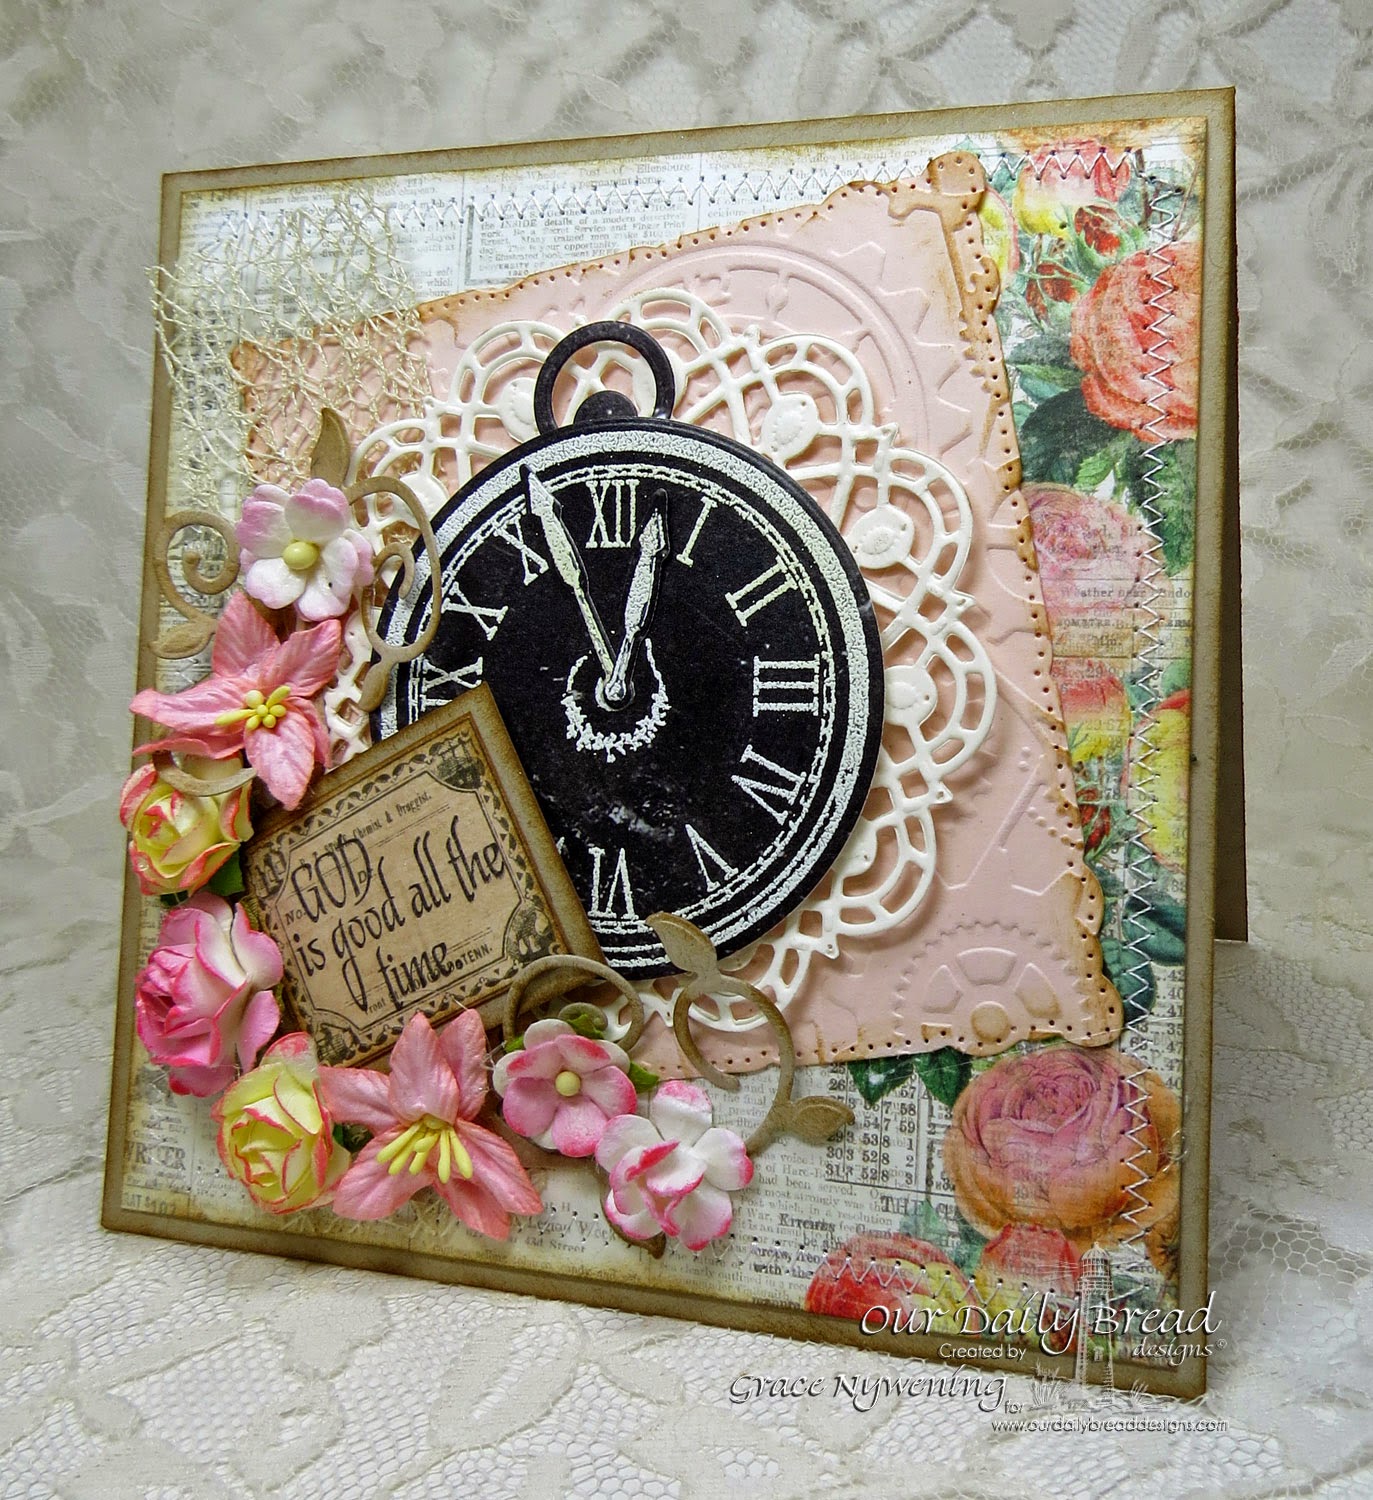
ODBD stamps: God's Timing, designed by Grace Nywening
Welcome to the ODBD October release! If you have not seen the full release, be sure to stop over at the ODBD Blog to view it all!  It's quite a big month here at ODBD!!!  

Before I share the info on my projects today, let me give you the details of how you can be qualified to win a gift certificate toward stamps in the ODBD Store:

Three winners will be randomly chosen from the comments left on the ODBD and the Designers  Blogs to receive a $15 Gift Certificate to the ODBD Store, to be used toward the purchase of ODBD Stamps found in the "stamps column" of the website.  You have until October 2, 2014 at 9:00 p.m. EDT to leave your comments for a chance to win!  The Winners will be posted on the ODBD Blog on October 3rd, so be sure to check back there to see if you won!
Now on to my first card (above).  I used the fabulous new set, God's Timing and the Matting Circle Die set.  I also used last month's release, the ODBD Custom Doily Dies.  I stamped my clock image on a piece of black paper from the ODBD Chalkboard Paper Collection with VersaMark and embossed in white. I embossed the clock hands and cut them with the same Matting Circle Dies.  LOVE this set!!!
My card base is Crumb Cake and I used some Prima "Something Blue" design paper, which I stitched just for fun. The sentiment from the same God's Timing set is stamped on a tag element from the same  paper pack.  I used a Spellbinders square mat of Blushing Bride, embossed with a Cuttlebug clocks and gears folder, and decorated around the clock with the ODBD Custom Fancy Foliage Dies and several flowers which I colored with Copics to match my design paper a bit better. 
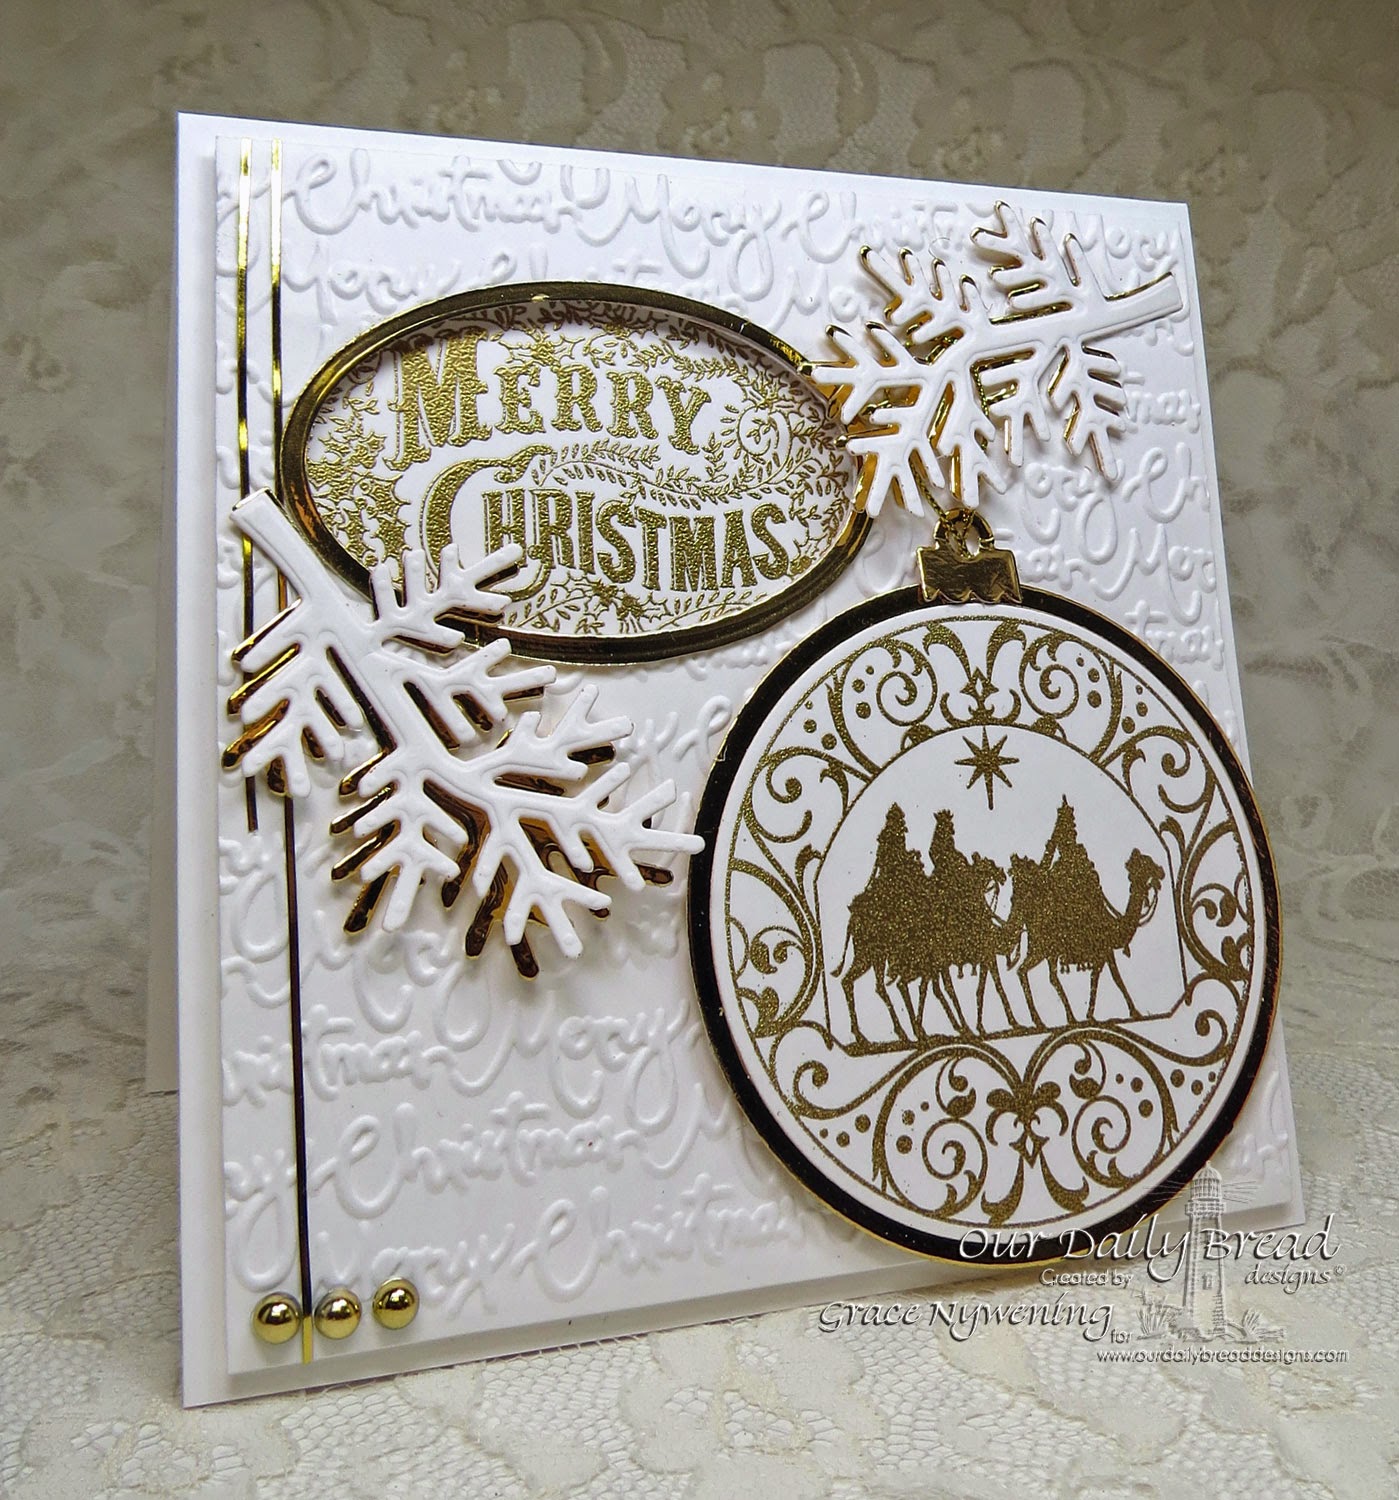
 ODBD stamps: Merry Christmas Ornament, Wisemen Ornament, designed by Grace Nywening

For this second card I used two of the new ornament stamps:  Merry Christmas Ornament and the Wisemen Ornament.  I used some shiny metallic gold to mat my ornament and I used the new Matting Circle Dies to cut the ornament, and the Circle Ornament Dies from last year to mat it.  I love how these two sets of dies perfectly mat with eachother!!!  I heat embossed both images in gold and instead of showing the entire ornament, I decided to focus on the "Merry Christmas" font, so I used a Spellbinders Petite Oval Lg. die to cut a window, and mounted the Merry Christmas behind it.  I then framed it with gold metallic paper by cutting an oval frame with the Petite Oval Small and Large.  I embossed the Merry Christmas with a Sizzix folder and added some Pine Bough die cuts from the Fancy Foliage Dies which I cut from white and also gold as just a little shadow.  The vertical gold lines on the left are stickers and the gold pearls are from Michael's.  While the card may look a little fussy, it is quite flat and mailable, so that makes me happy!  :)

To wrap up, here are the new ODBD products I used today:


Thanks so much for stopping by!  Please be sure to visit my DT sisters below:

Grace * Chris * Dawn * Lori * Julie * Sandee * Cathy * Paula * Lisa * 
Silke * Wanda * Sabrina * Audrey * Angie

Blessings,

Sunday, September 28, 2014

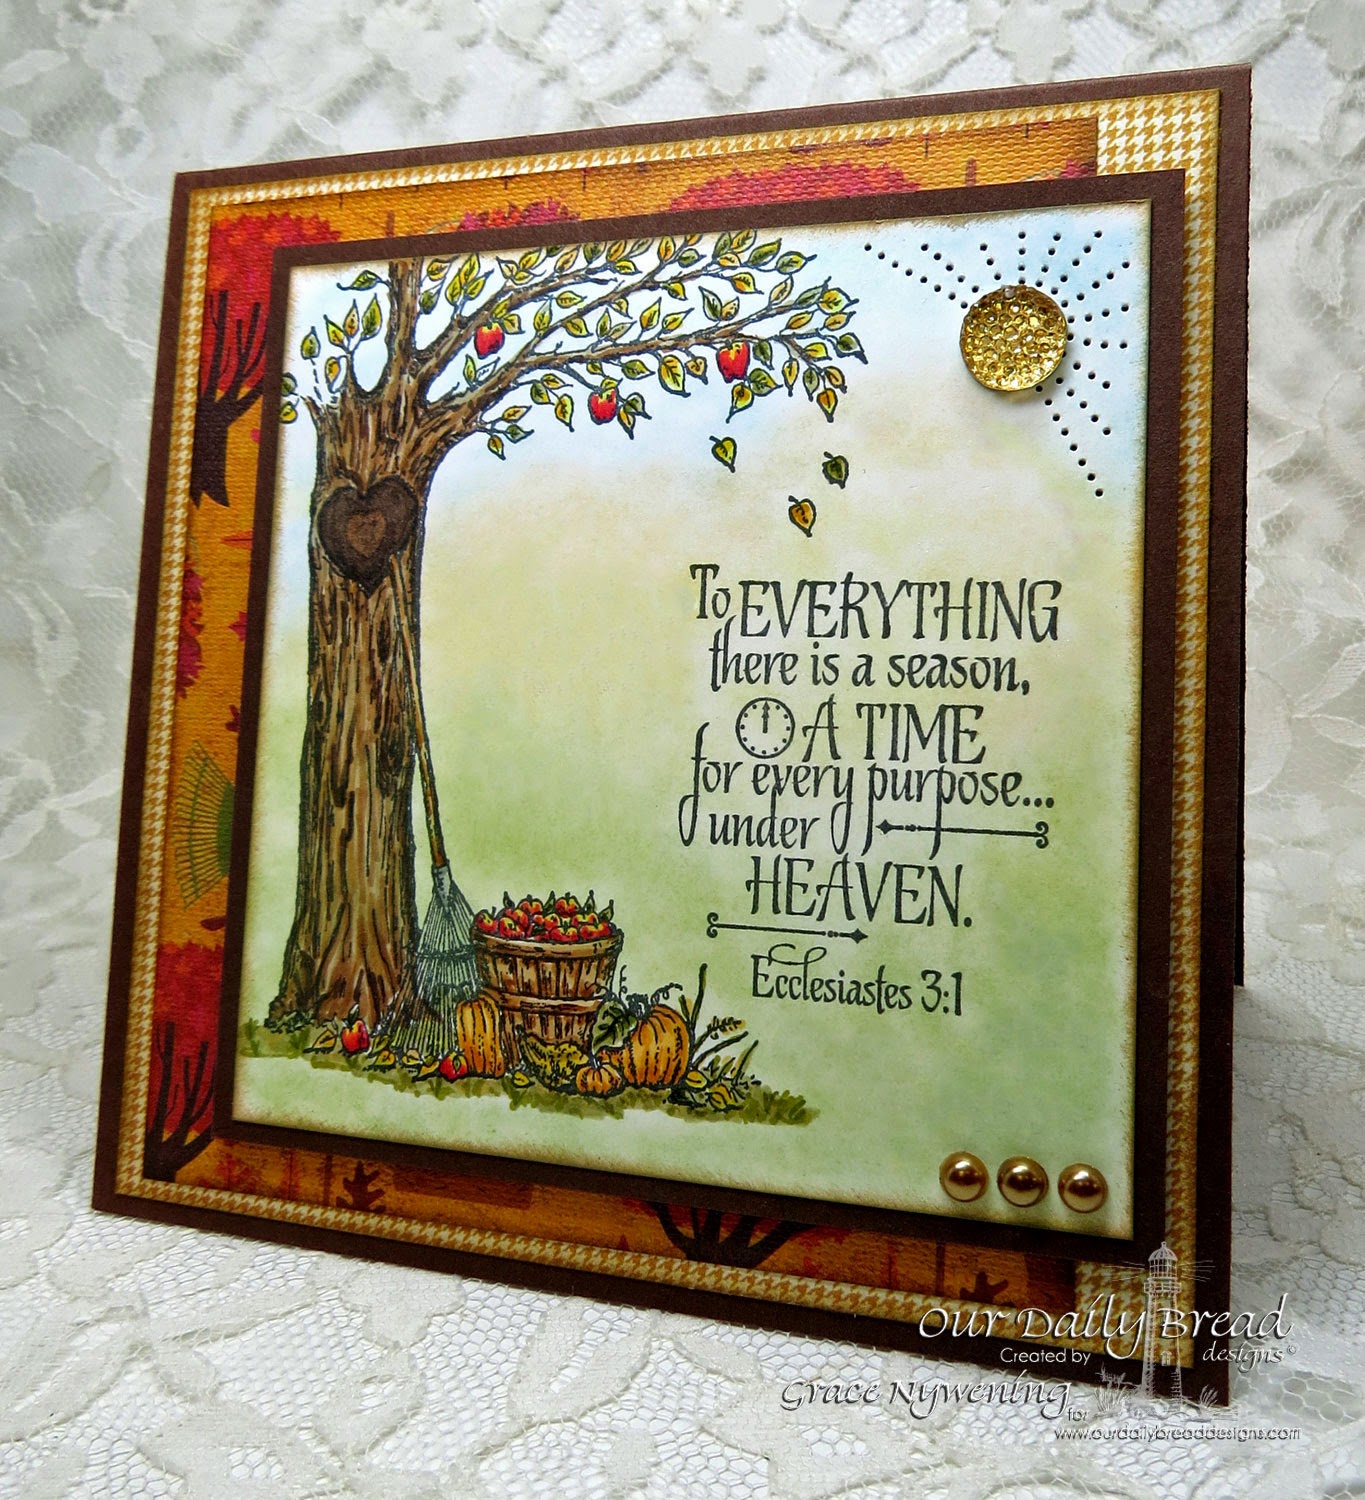
To Everything there is a Season...

ODBD stamps: Autumn Tree, God's Timing, designed by Grace Nywening

Hello sweet friends!  Today I'm sharing a sneak peek with you for the current Shining the Light Challenge, fall inspiration photos. This card is a sneak peek of two sets being released Oct. 1 at ODBD!  One is called Autumn Tree. The second is called God's Timing.  The verse is from God's Timing and  I loved how well it went with this cute tree.   I had fun working with it and went with typical fall colors, using the current inspiration photos for the Shining the Light challenge. I am also linking this to Word Art Wednesday.

I stamped with Memento and colored with Copics, then sponged lightly with pastel chalks for just a hint of background.  The base is dark chocolate and the design paper is from MME Lost & Found "Sunshine" and K&Co Fall Harvest (an older pad).  The bling is from Hobby Lobby, and I used an Ornare piercing template for my sunrays in the upper corner.

Here are the Copics I used for this little scene:
E49, 43, 44,  57,  55, 31, 35, 37
YR 21, 24, 27
Y13, 17, 19
R27, 29
C1, 5

I love this Scripture, as it helps me remember that not only are there times and seasons for all of God's creation, but as we live our lives, we too go through various seasons.  I think as we get older and look back at our lives we see a remarkable pattern of how God has been leading us along, through various experiences that are sometimes joyous, sometimes difficult.  There are times for us to learn, times for us to share what we've learned,  times for us to  be busy but also times for us to be still. There are times we don't understand the "why".... why did He choose to allow this to happen?  We can rest assured that every thing has a purpose in our lives and  He loves us infinitely! 

I hope you enjoyed my card and even though this card is all fall... don't be fooled... fall isn't all that's coming Oct. 1!  I hope to see you back here then!!!

Thanks so much for stopping by!

Blessings,

Friday, September 19, 2014

I'm sew happy to share....

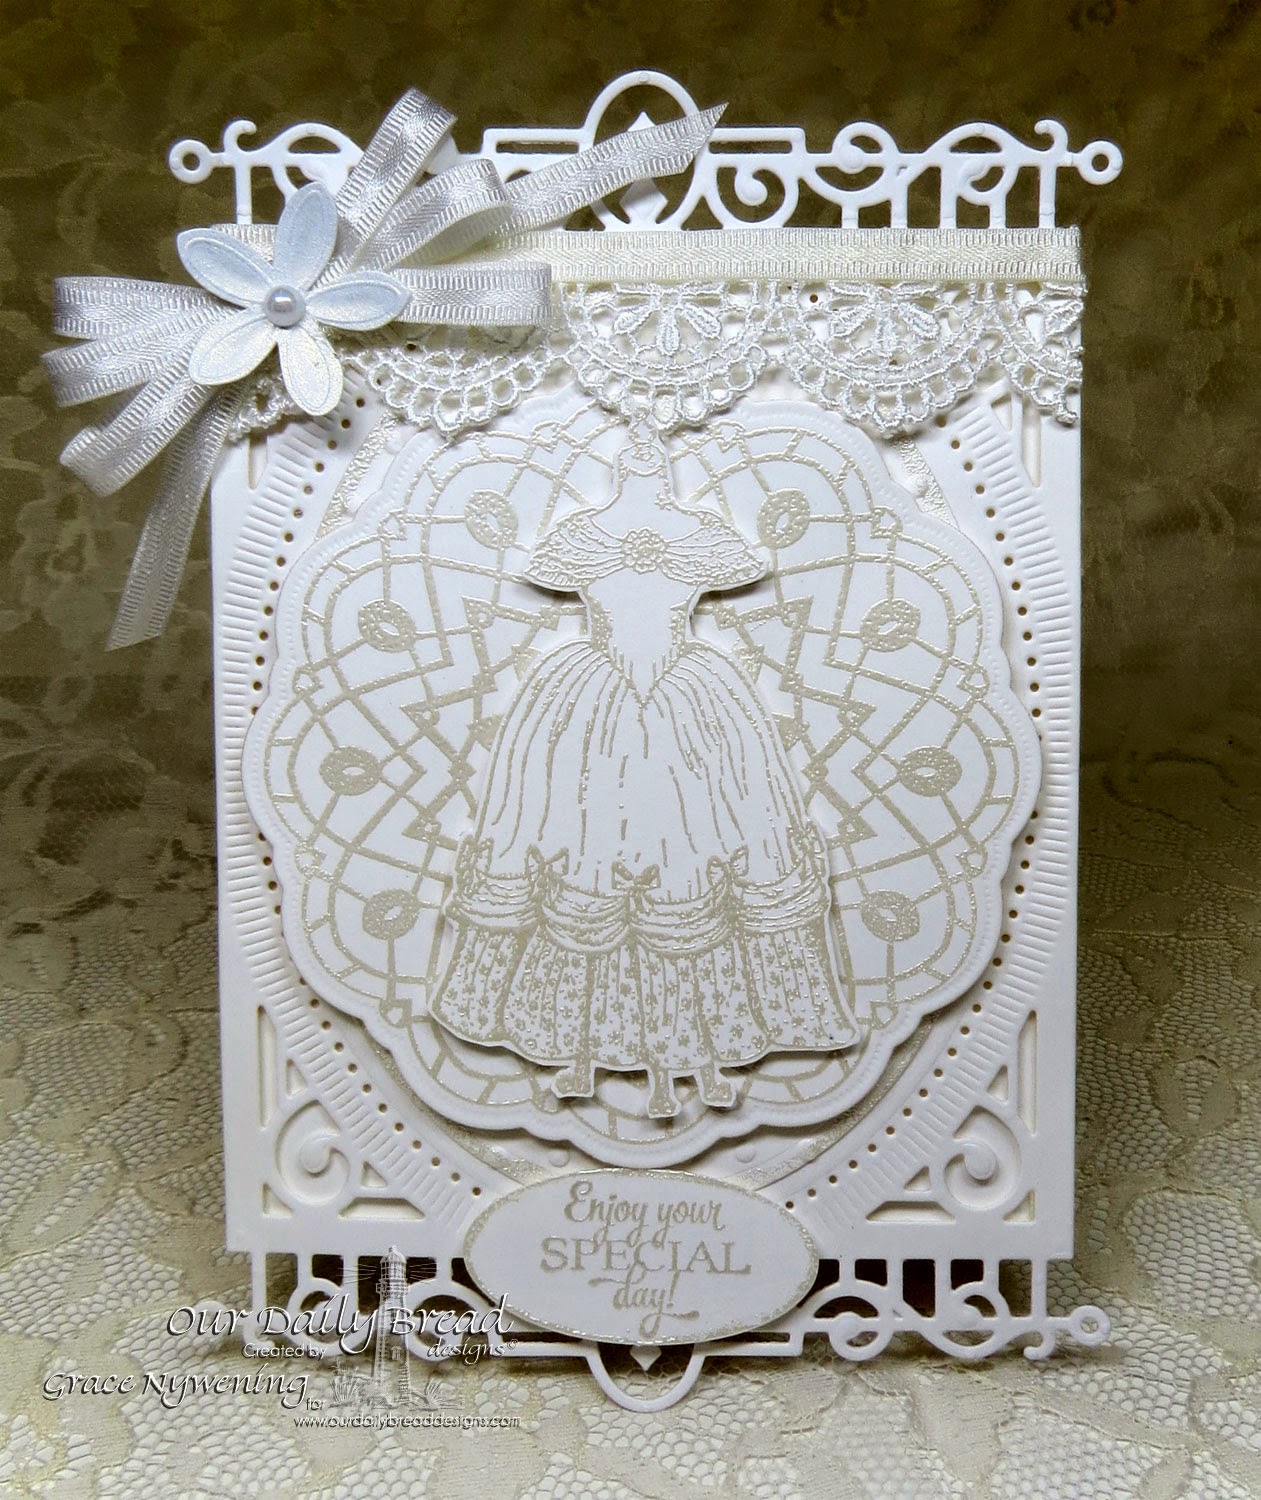
 ODBD Stamps: Victoria, Doily Blessings, Birthday Doily, and doily die; designed by Grace Nywening

Hello friends!  I hope you are all well!!! 
 
Today the we are taking a look back at the ODBD September release!  I don't know about you, but  I know the "breadsticks" have been having a lot of fun this month with our sewing, knitting, and stitching themes!  From crocheted doilies to gorgeous dresses, and from rustic knitting to cute CAS designs... we've had a blast! Hence my title... I'm sew happy to share!

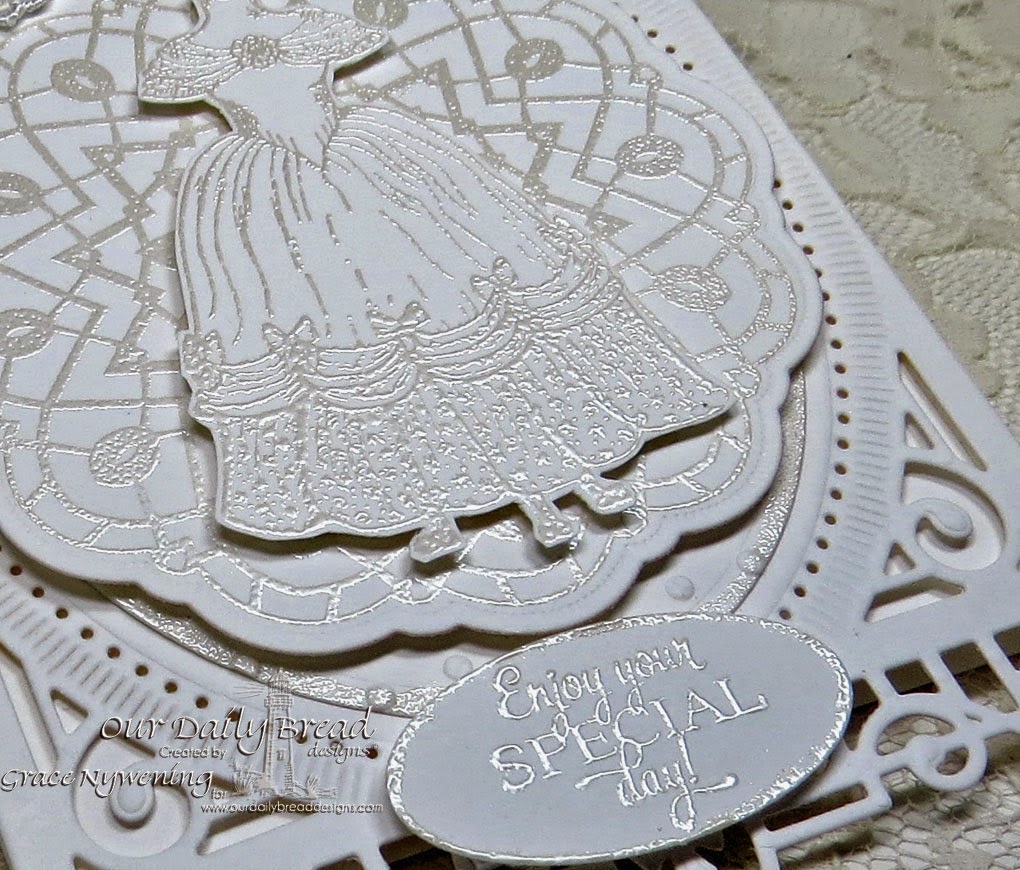
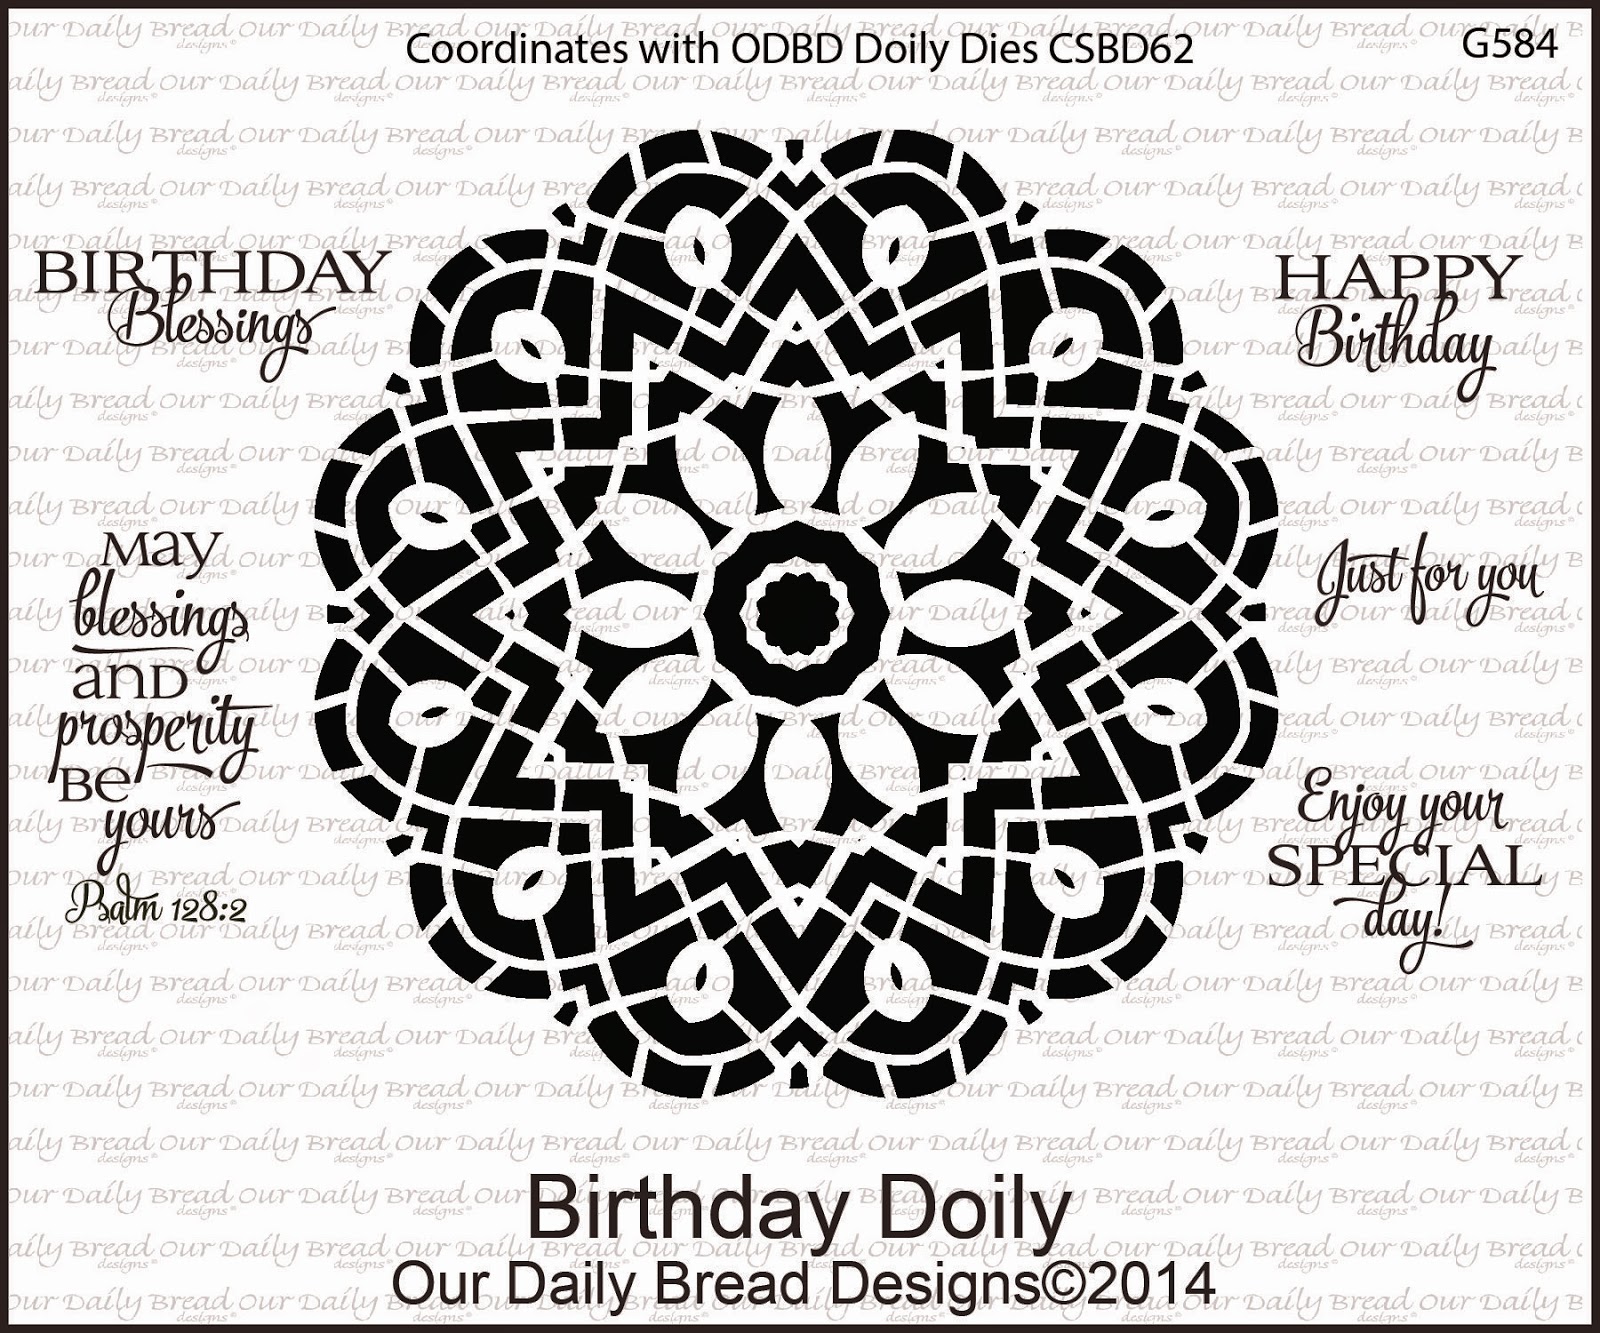
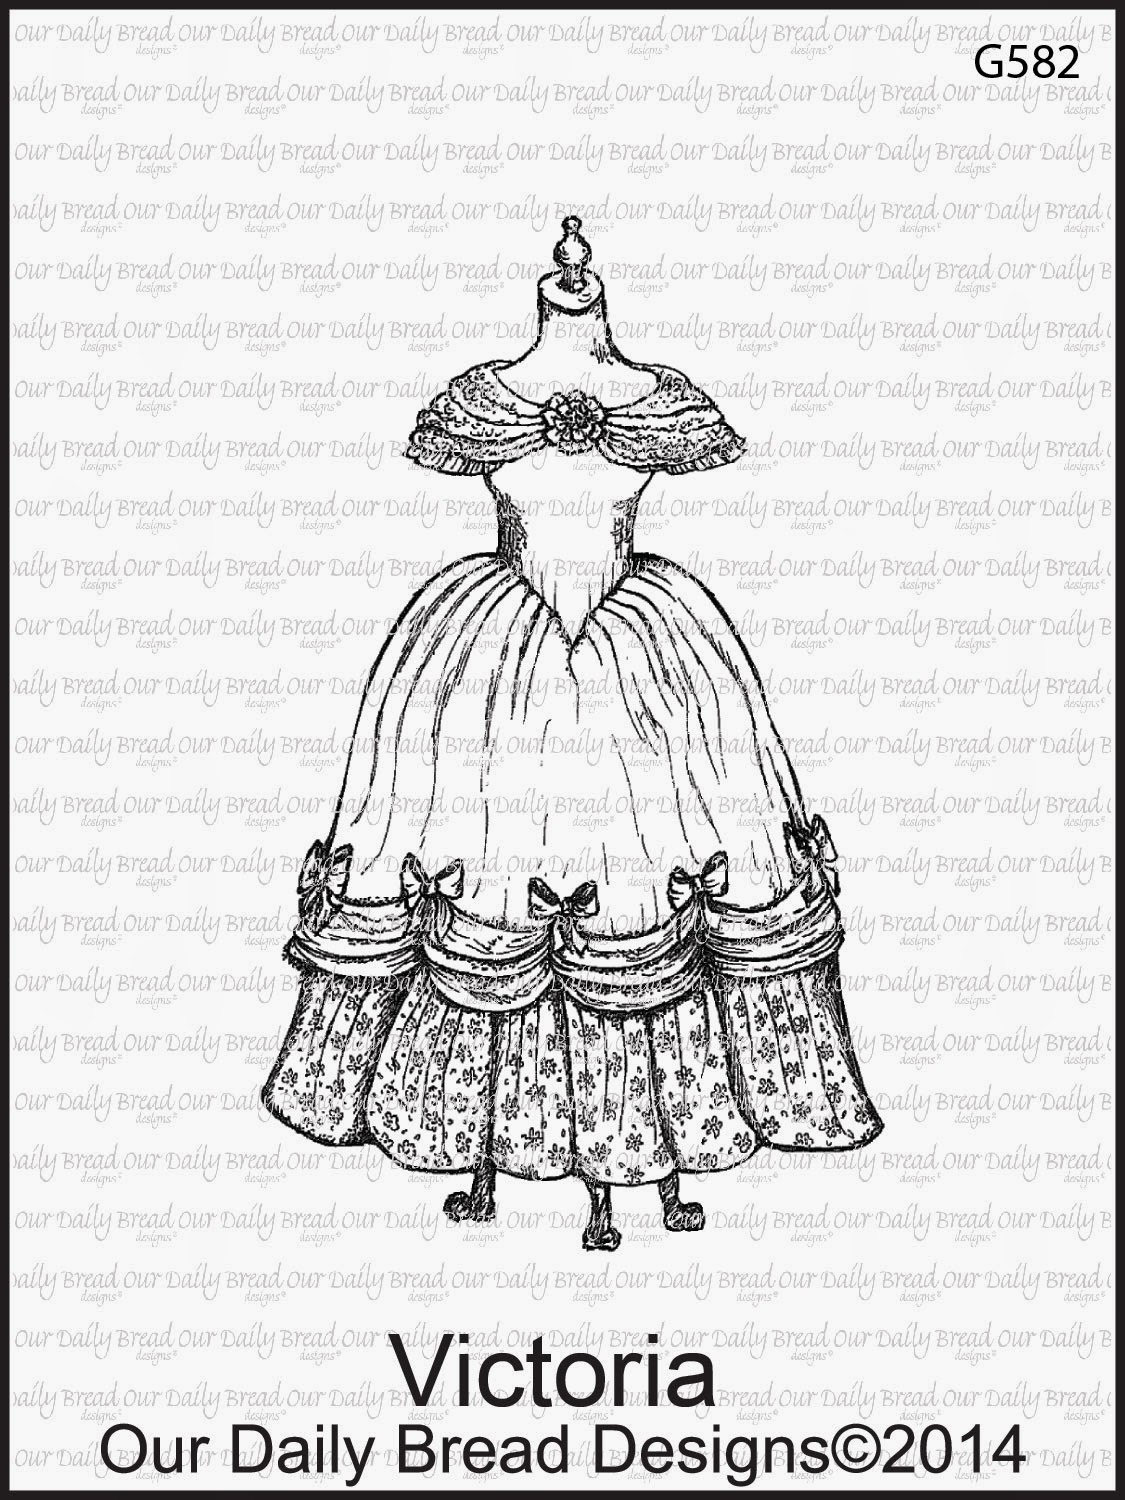
So today, I wanted to show something a bit different. I think most of us have interpreted the images with a vintage flare, but this time,  I created a white on white card to show how elegant these stamps and dies can be.  I used Pearl Embossing powder to emboss my dress, doily, sentiment and the edges of the oval panel.  While it was hard to get a photograph that really showed the embossing, in person I really love how this came out  and could think of many different uses for it... from a confirmation or a special day for your little princess, to a bridal shower or other special event... what girl wouldn't love something this elegant?

The lighting varied so much while I was trying to photograph this.  Here's a close up of the embossing, but the sentiment panel in real life is not gray!  It's all white! LOL!

ODBD Stamps: Victoria, Doily Blessings, Birthday Doily, and doily die; designed by Grace Nywening


Here is what I used:
Spellbinders Heirloom Legacy, CB Swiss Dot Embossing Folder, Oval Punch, 
Pearl Embossing Powder, VersaMark ink pad and also Liner, Lace, Satin Ribbon, Punched Flower, Pearl


https://www.ourdailybreaddesigns.com/index.php/g584-birthday-doily.htmlhttps://www.ourdailybreaddesigns.com/index.php/g585-doily-blessings.html
https://www.ourdailybreaddesigns.com/index.php/g582-victoria.htmlhttps://www.ourdailybreaddesigns.com/index.php/csbd62-doily-dies.html

For more inspiration from my DT sisters, please visit their blogs below and maybe leave a little love while you're there to encourage them!

Chris * Grace * Julie * Cathy * Lori Sandee * Dawn * Paula * Stacy * Wanda

Thanks so much for stopping by!

Blessings,


Tuesday, September 16, 2014

A Warm Christmas Wish!

ODBD Stamps, Quilts, Warm Wishes, designed by Grace Nywening

Hello my friends!  I hope you are all doing well!

I have been away for almost 2 weeks and have so much catching up to do!

Today I'm sharing a different take on this month's release from ODBD, Quilts.   I colored it up with Christmas colors and used a sentiment from a past set, Warm Wishes.  I used Cherry Cobbler, Pear Pizazz, a tan Bazzill paper, and white.  The lace is Websters Pages and the little tag I used to die cut my sentiment is Spellbinders.  I love the little buttons image that comes in this Quilts set and had to use it to anchor my tag.  Hope you enjoyed my Christmas quilt!

I am linking this to the current Shining the Light Challenge over on the ODBD Blog, which is Stitch it!  Use real or faux stitching or a stitching theme!  Still time for you to play along!!!

Blessings,

Friday, September 12, 2014

Memories are Stitched in Love!

ODBD stamps: Hand Knit, Stitches, Beautiful Border Dies, designed by Grace Nywening

 Hello my friends!  I hope you are all well!

I have a real CAS (clean and simple) card to share with you today.  For this card I used ODBD's Sept. release Hand Knit, and Stitches sets. I also used a past release, Beautiful Border Dies.

To create the card I started with a base of Neenah  Solar White and embossed it with a  Cuttlebug folder which was a gift from a very dear friend.  On that I layered a panel I had constructed using a mat of dark chocolate, then a mat of blush blossom, and finally my main panel, which was another Neenah White panel on which I had stamped and masked the yarn images from Hand Knit, colored with Copics and masked the strip across and sponged the background with Distress Ink (Victorian Velvet).  I also stamped the sentiment from Stitches and added a little heart button.  A wrap of yarn (SU!) was added before adhering all the layers.  I popped up this main panel on dimensionals.  I felt it needed something at the top so  I die cut the pretty crocheted border, using blush blossom and the Beautiful Borders Die set.  Quick and easy!  We all need a few of them, don't we?  LOL!

Today's blessing from the Word:

Eph.4:2
Be completely humble and gentle;  be patient, bearing with one another in love.

I hope you have a wonderful day!!!


Tuesday, September 9, 2014

Quilted Thanks Sew Much!

ODBD Stamps and dies: Quilts, Doily Die, designed by Grace Nywening

 Hello all!  I hope your week is going great!!!

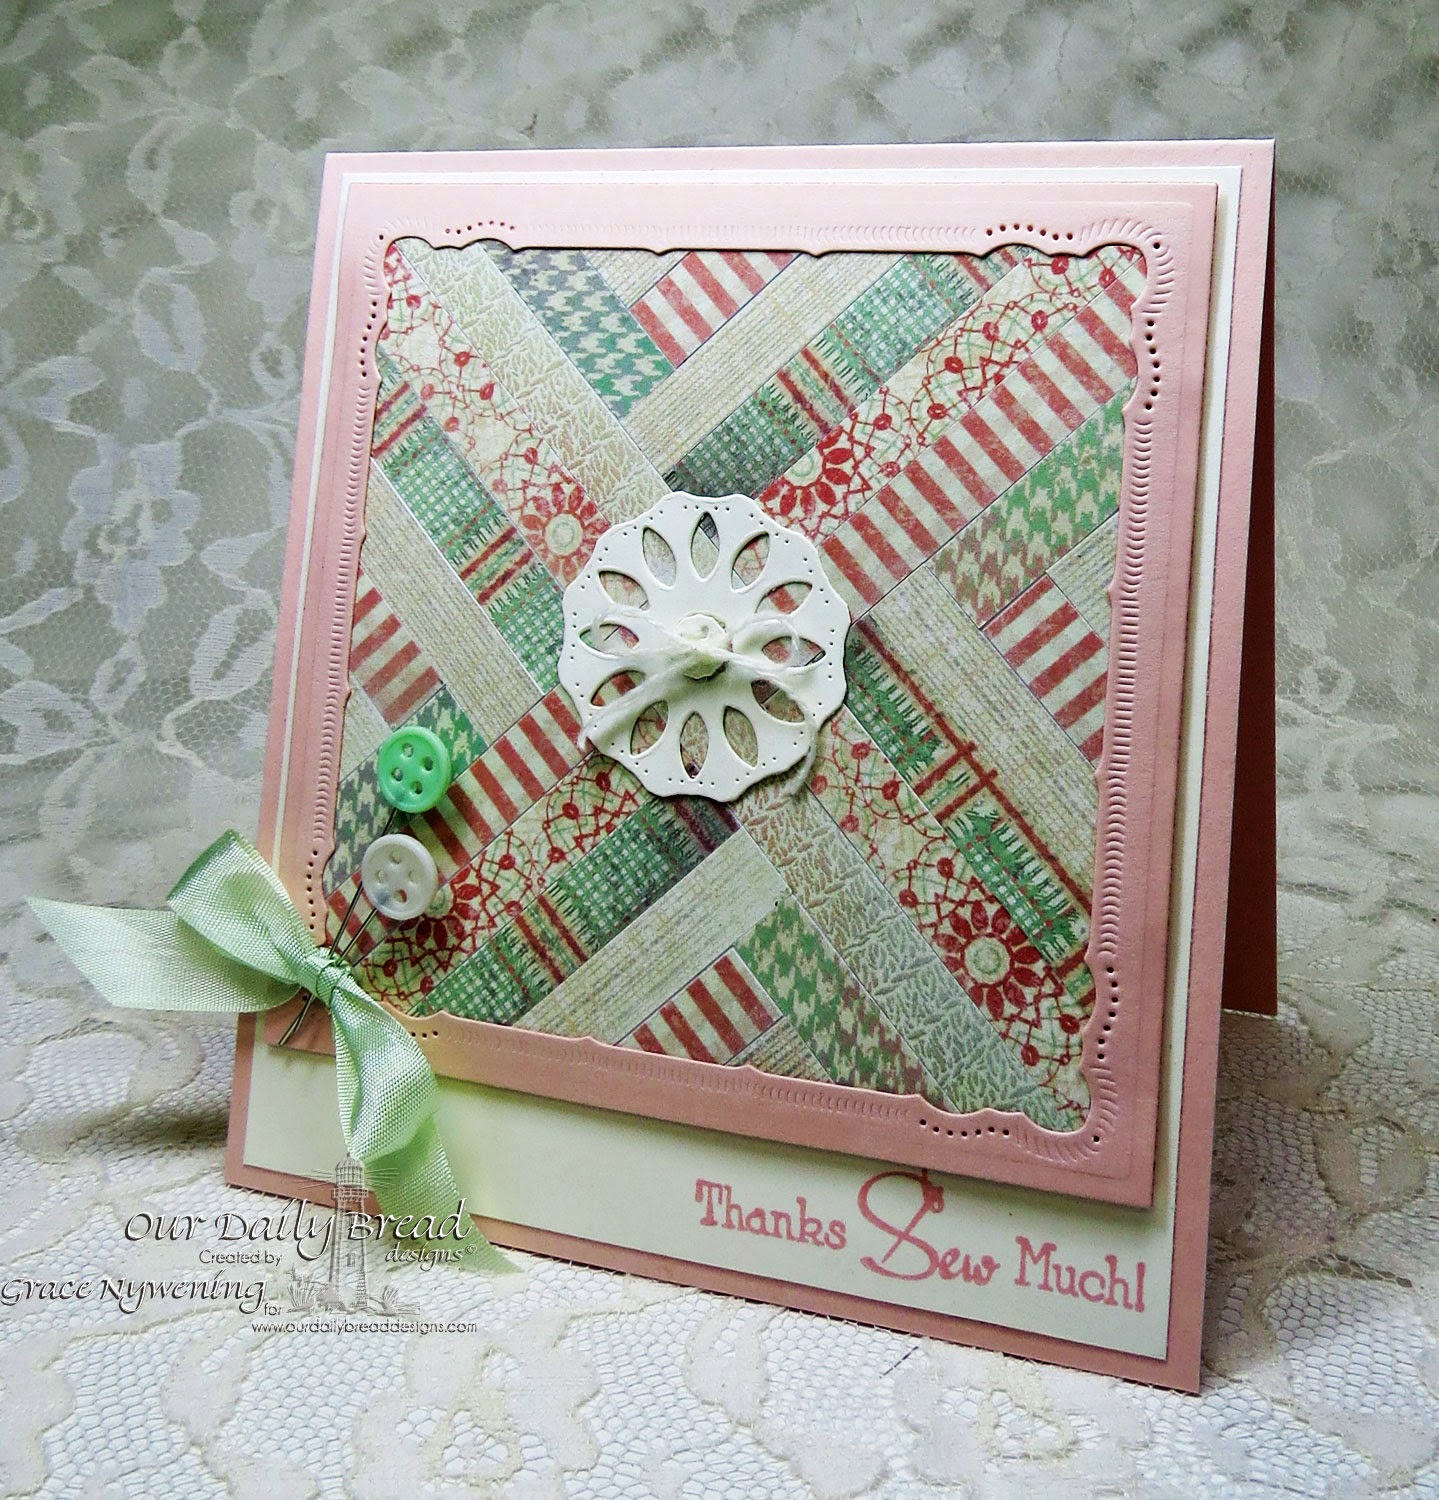
I'm popping in with a fun quilt card today.  As the story goes, in early colonial times when Puritan women were making a quilt, they would purposely make a mistake on one square, and that square was their "humility" square. The reason given was that it would be prideful to create something perfect because only God could create anything perfect.  While I believe this is probably a myth conjured up by someone trying to sell their less than perfect quilt, I find myself thinking about it often when I am quilting and of course cannot make it perfect! LOL!   Well... this quilt card is my humility square on paper!  LOL!  There is a booboo in my pattern, but I did not have a pattern to be looking at when I made this,  and I did not see the booboo until I was all done!  So... this little square is keeping me humble! At least what I did wrong is done on all four sections, so actually, it just makes a new pattern! :)  Works for me!

The sentiment is from the Sept release at ODBD, Quilts, and the center medallion is the inner part of the ODBD Doily Dies.  If you look closely you can see that there are actually 2 die cuts in the center of the die, and the little one in the middle looks like a button.  I tied some cream colored yarn through it.

To make the quilt pattern, I cut strips of this gorgeous design paper, Soulful Stitches Paper Collection to 3/8".  I took a 4" square of scrap card stock, drew a pencil line diagonally from point to point.  I ran it through my Xyron machine to tape the entire panel.  If you don't have one you could easily cover the panel with other adhesive... this was just so handy and quick for me to grab.  I then began laying my strips from the inside point and working around and out.  Where I made my mistake is that I was looking so much at the lengths of paper strips I had from previous scraps, that I started out selecting my longest ones and laying them inside my triangles next to each other, not even thinking about my pattern.  You "should" do one side of the "triangle" you have drawn, and then the other side so that there are not 2 strips the exact same length next to each other.  This forms the pattern I was trying to create.  However... as I said... I was being so careful not to cut up any more paper than I had to, I began looking at my long strips and putting them in the longest places.  LOL!  Anyway... you work your way around until all your square is covered.  You then use your trimmer to trim off any pieces of paper that are extending over the 4" panel.  I decided to frame mine, so I cut a pink square frame using 2 Spellbinders dies: Grand Squares (smallest) for the inside cut out, and Marvelous Squares for the outside cut.   I popped up my quilted panel and stamped the sentiment in the lower right corner of my card.  I thought these little button topped straight pins I've had in my sewing box for some time now were the perfect embellishment for my little bow.  I definitely will be making another one of these and doing it right this time!  It really went very quickly and would be a perfect way to use up scraps!

Hope you enjoyed!

Blessings,


Thursday, September 4, 2014

Vintage and Blessed!

ODBD Stamp: Elizabeth, Birthday Doily, Doily Blessings, designed by Grace Nywening

Hello again my friends!!!

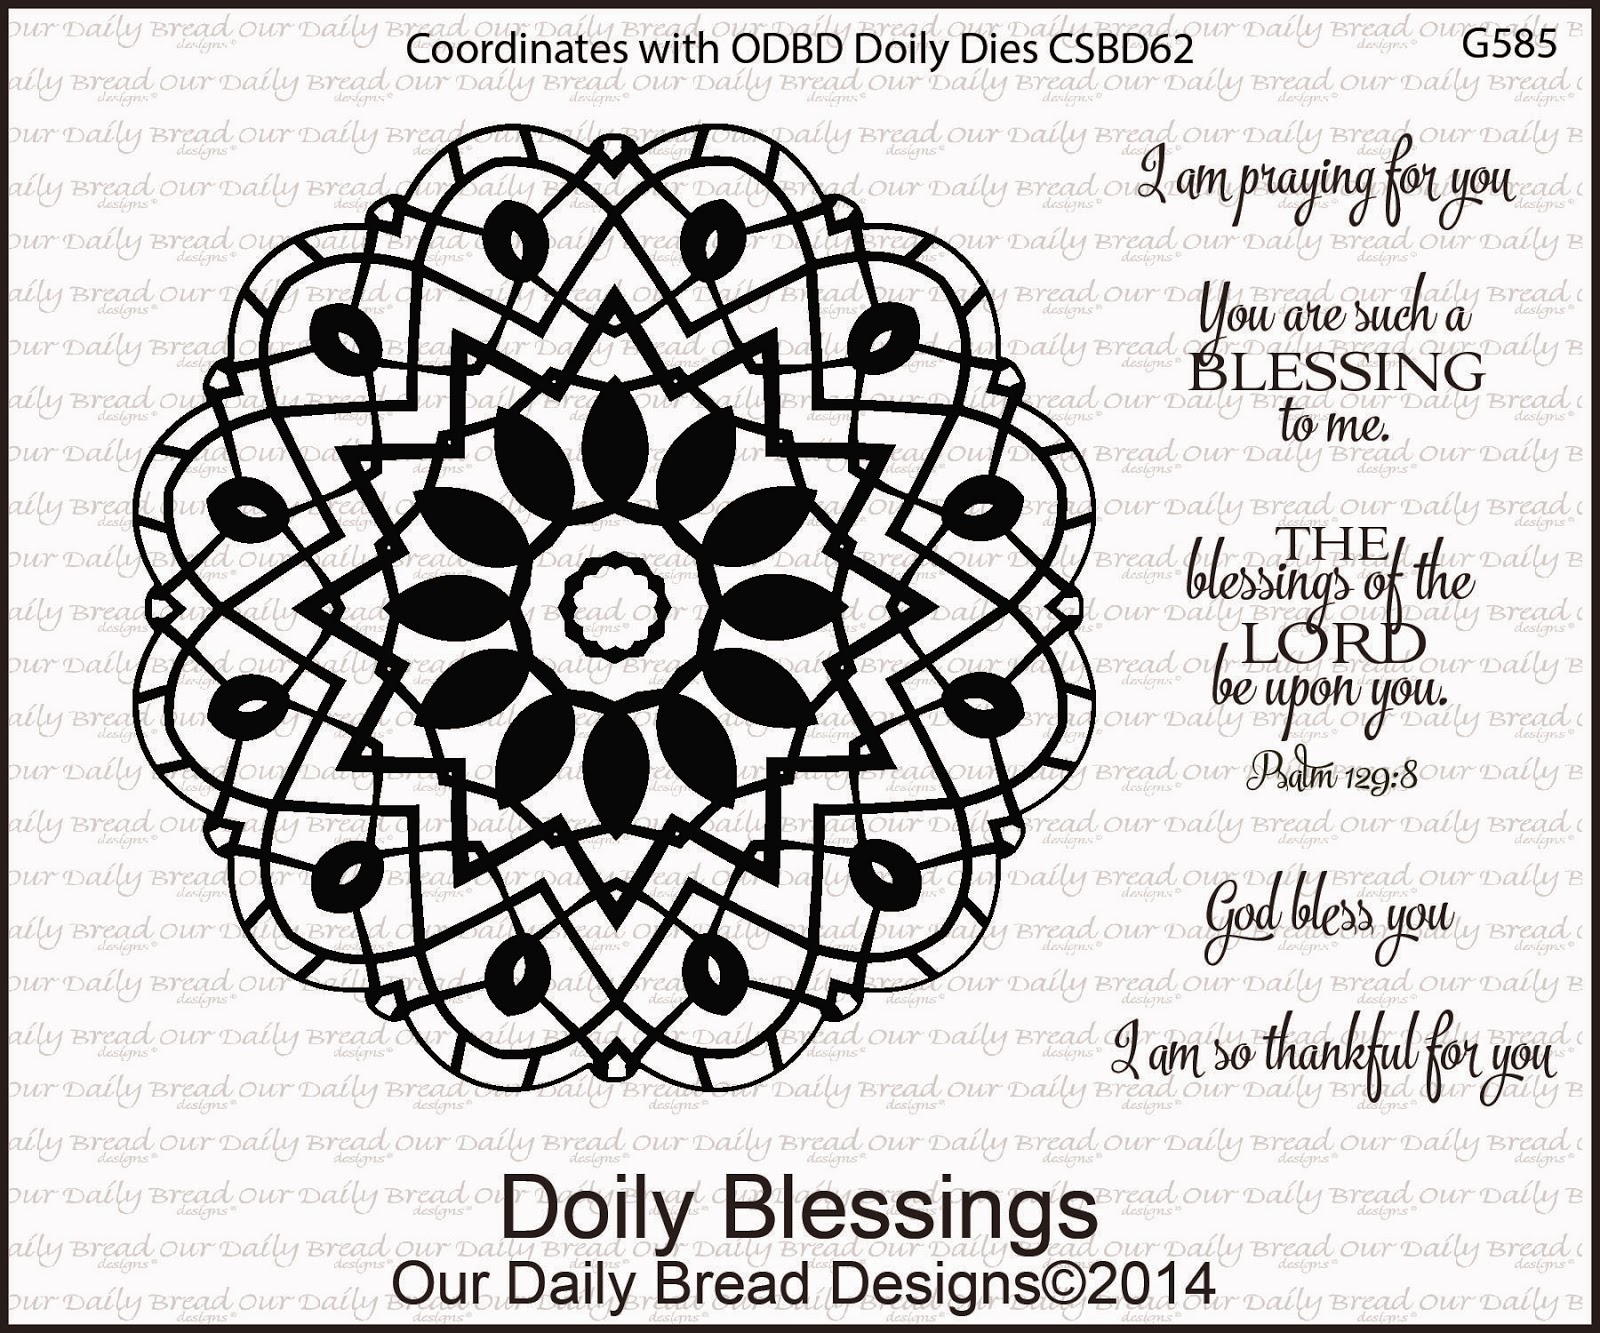
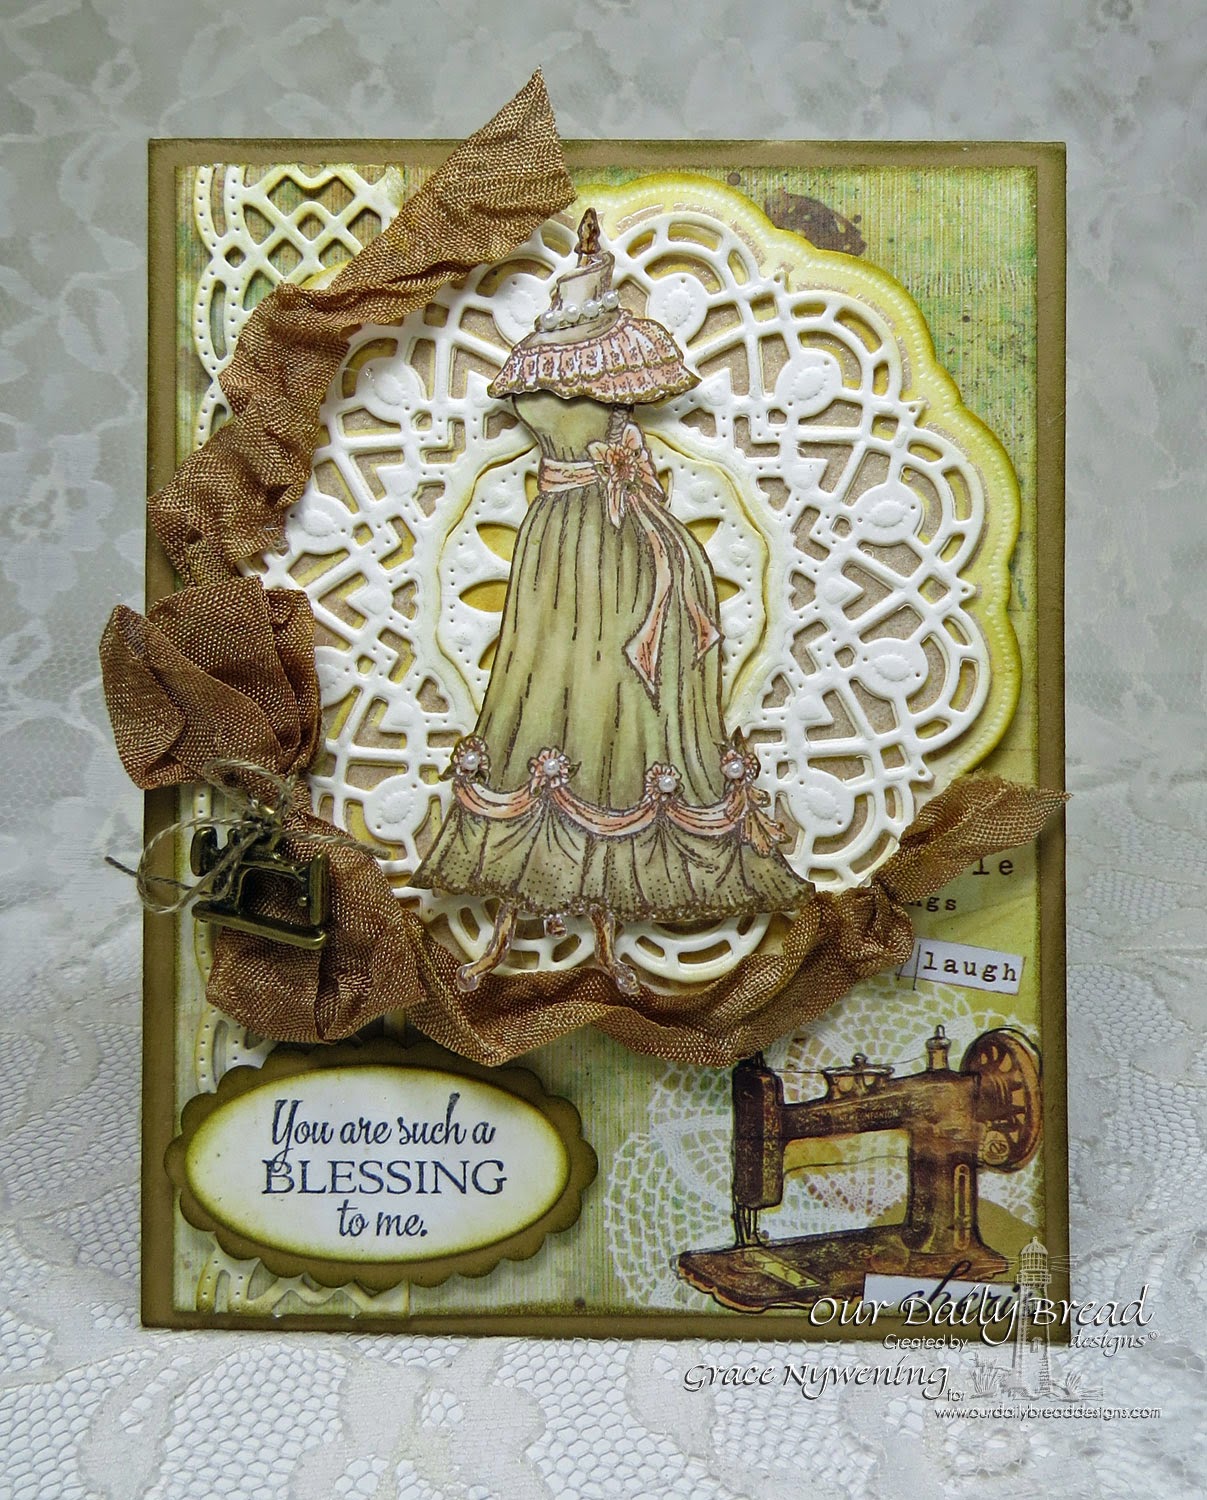
Today I'm sharing a vintage feeling card I created with the ODBD Sept release. I  used this beautiful dress image called Elizabeth, as well as the Birthday Doily, Doily Blessings, and the ODBD Custom Doily Dies.  

I heat embossed the Birthday Doily with a color I cannot identify by name as there is no name on the bottle, but it's a cross between gold and tan.  It feels very vintage to me!  I sponged the rest of the doily with Distress Ink in Antique Linen.  I then cut it out with the ODBD Custom Doily Die (largest die in package).  I cut another doily out, this time using all the layers except for that largest one, and I sponged more Antique Linen on the edges. I mounted this doily on the stamped one.  I then deicded to give it more depth and die cut another doily just like the last one, and adhered that on top of the first white one... giving just a slight offset for dimension.  I stamped Elizabeth with Memento ink and colored with Copics, and hand cut the image out, adhering to the doilies with foam dots.  I used a base of Baked Brown Sugar and the design paper is BasicGrey "Life Time".  The yellows in this design paper were what led me to my color choices when sponging and distressing.  I stamped the sentiment from Doily Blessings and punched with my SU! punches.  I died the seam binding with Bronze Glimmer Mist, wrinkled it and dried it with my heat tool.  I then adhered that around my doily to frame it a bit more.  I tied on a bronze vintage shew machine charm and decided to leave it there.  

Thanks so much for stopping by today!!!  Consider this sentiment to YOU.. my faithful readers!  You do bless me so and I appreciate you visiting, and of course I love hearing from you as well!!!

Hugs & Blessings,